Convert Trials Into Paying Customers While You Sleep With TrainHeroic and Zapier
Coach Development | UncategorizedAthletes from around the world can now sample your training community experience in the TrainHeroic Marketplace with a free 7-day trial.
You want to create a welcoming experience that converts the person “walking through the door” into a raving fan. You don’t have the time to manually send an email to each and every new trial athlete, but you know welcoming them is vital. What do you do? Automate!
We’ve made this possible by integrating our platform with Zapier.
By following the guide below, you can set up a series of emails that will automatically send to every one of your incoming trial athletes. Whether you get 10 trials per month or 10,000, set up the automation once and let Zapier and MailChimp do the rest.
By implementing a similar email flow, TrainHeroic was able to increase our conversion rate by 10 points. If you are serious about growing your online training business, automating a welcome email series is the #1 biggest return on your investment.
We estimate the full setup following this guide to take roughly 2 hours.
Buckle in, do this work at a laptop or desktop, and get ready to automate like the pros.
Chapters:
// don’t leave your athletes feeling unwelcome
Let us paint a picture…It’s your first-day training with your new coach / trainer. You walk into a new gym for the first time. People are moving, sweating, getting in their training sessions, talking in small groups to one another.
No one comes to welcome you in.
You’re in a gym, but is it the right gym?
You can’t visibly discern the staff from the folks training – much less make out who your coach is, where you should go, or even if you’re in the right place.
You’ve got a bit of that awkward feeling of walking into a party your friend invited you to, but you can’t find them and don’t know anyone else around.
What do you do?
As a business owner you’d never let this happen in your gym, right?
Running a training community in the TrainHeroic Marketplace should be no different. You want to create a welcoming experience that converts the person “walking through the door” into a raving fan, and their first moments with you will make all the difference.
// Send automated welcome emails to athletes who start a trial of your programming using Zapier
Zapier is the self-proclaimed “Easiest way to connect your apps and automate workflows”. And we agree.
Zapier allows users to connect apps to send information and signals to one another. We chose to connect with Zapier for a few reasons:
- They are focused on helping small business owners like you automate marketing, communication, sales, and admin functions like “the big guys”
- They connect with over 2,000 apps making the possibilities almost endless. (Hint-hint) today is the first announcement of more to come.
- They are SUPER user-friendly
So, what does this mean for you? Well, among nearly countless possibilities, it means that TrainHeroic now can send a signal to your email service provider (ESP) letting it know that someone has started a trial of your training community. You can use that to trigger a series of emails to welcome and onboard that new athlete.
Even though the possibilities are endless, we wanted to provide you with an A-Z guide. So, we’ve chosen MailChimp as our recommended ESP. We’ll use MailChimp in our examples here, but you can easily use any other ESP you like.
If you’re not already using an ESP, MailChimp is a great introduction to email marketing for small businesses in particular. It’s user-friendly and integrates with many apps that help you to automate tasks. A big bonus is tracking the performance and engagement of your emails, a feature you don’t get when using Gmail, for example.
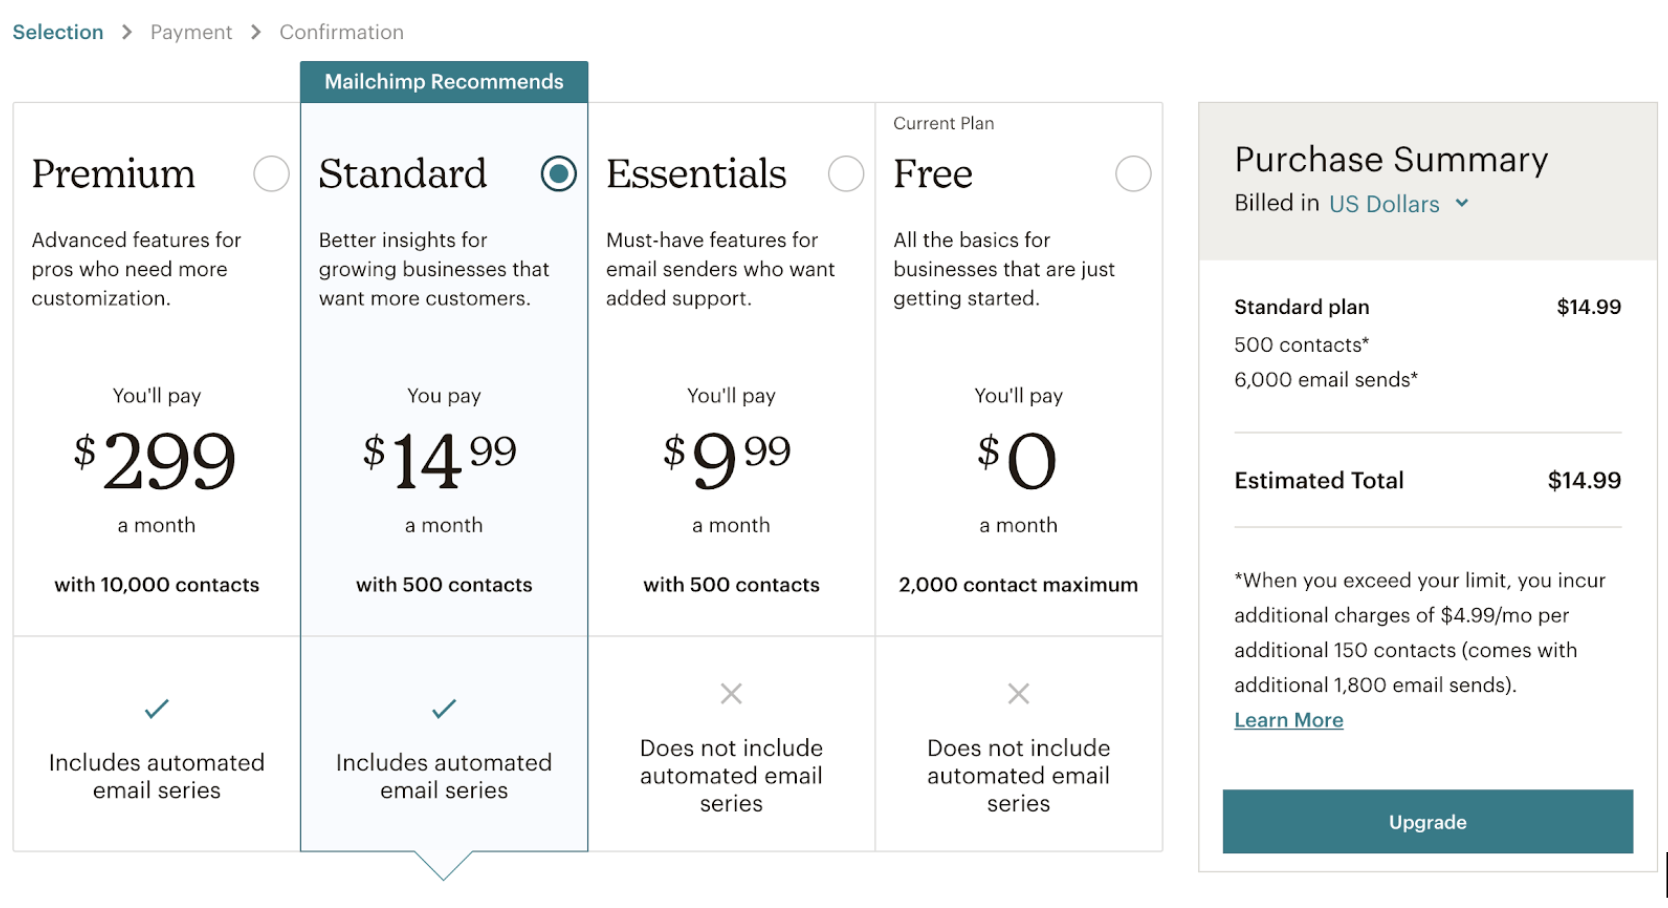
We recommend purchasing the Standard plan because it’s the most affordable plan that allows you to create a series of automated emails.
// Email copy and creative: building engaging emails that deliver the right message at the right time
Why do we do this?
We want to make sure that athletes are comfortable with using the app as quickly as possible, this way they can jump right into their training. We’ve seen that athletes who log a session on their first day are 3X more likely to convert. So knowing this, we specifically cover how to use the app as an athlete and provide helpful guidelines for getting started. The faster they get started, the quicker they can engage with you, the team, and get their first session logged.
We also want to form good habits early on. We express the importance of logging their sessions so you stay informed on their training, progress, or setbacks so you have the tools and the data to be as informed as possible.
TrainHeroic is also your client’s resource for any technical support. As always, if an athlete has questions about their account or they need technical support, direct them to our help desk and customer support team.
Our goal with these emails is to let you focus on coaching. We’ll tell them the nitty-gritty details on using the app and providing technical support so you don’t have to.
You focus on coaching, we’ll handle the rest.
Topics we cover:
- Getting athletes to log their first session with a quick how-to video
- Using TH Chat to connect with you and the team
- How to share their session stats on Instagram
- Viewing Profile Analytics to track their progress
Build and design your emails
We recommend sending a series of 4 emails over the 7-day trial. We designed this to align with the emails that TrainHeroic is also sending.
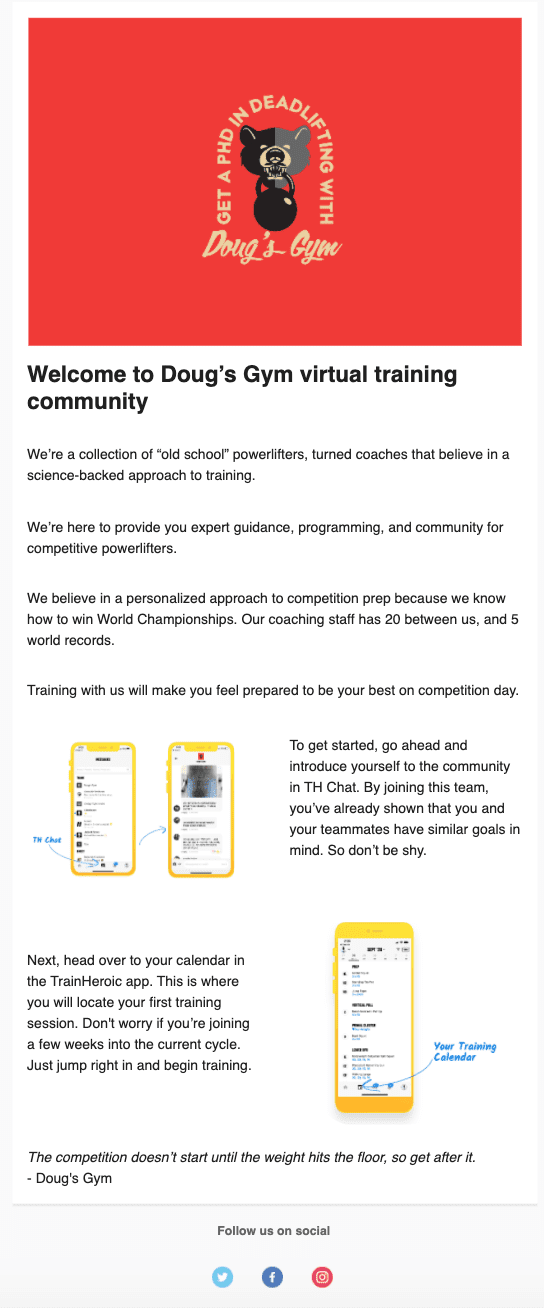
Day 1: Welcome
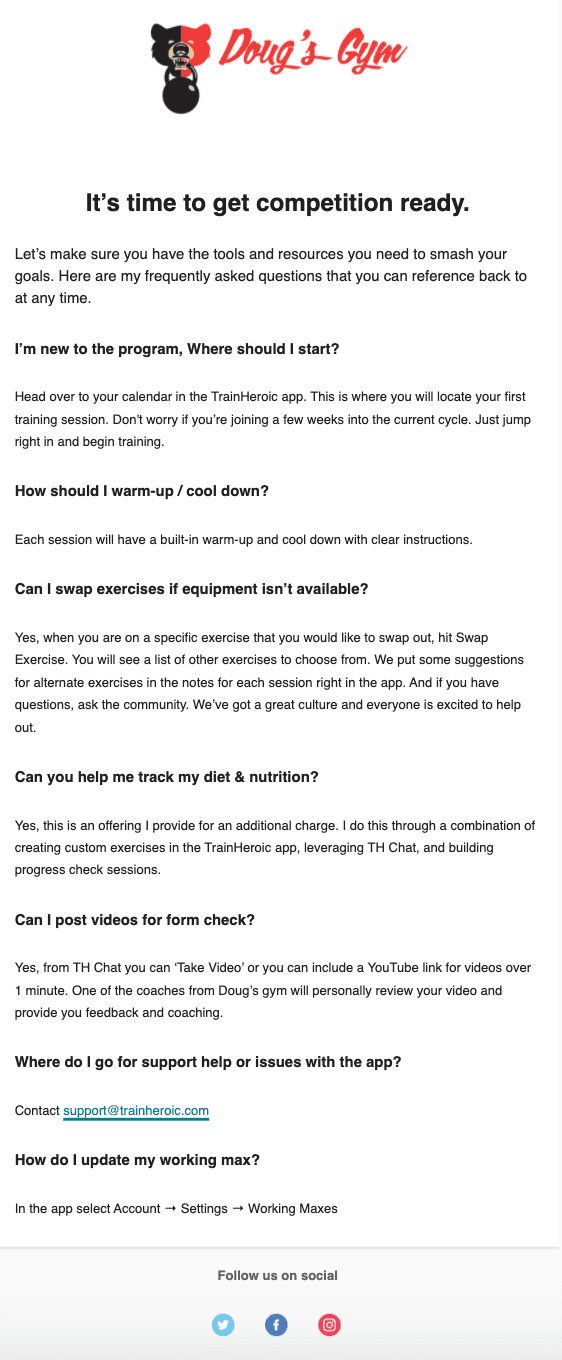
Day 2: FAQ’s
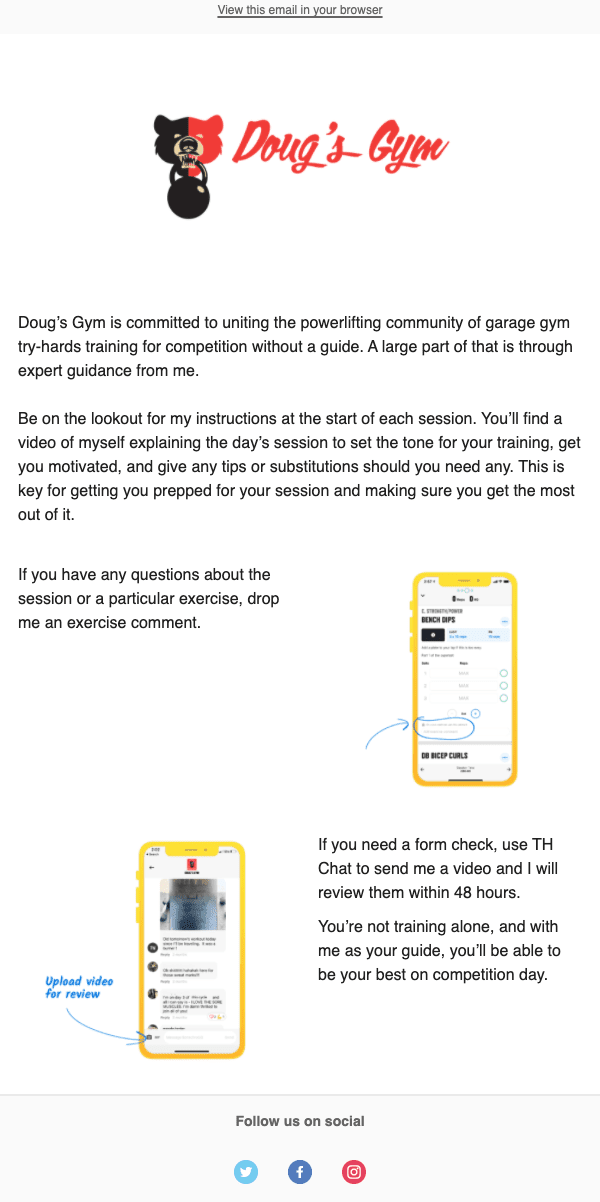
Day 3: Communication
Day 7: Upsell/cross-sell
We’ve included email templates from our faux-brand Doug’s Gym to give you some inspiration and insight into what these emails can look like.
Day 1
Think about the following as if you were physically in the gym with this athlete:
What would you run through with them?
What do they need to know?
What are they going to love about being part of your training community?
These are clear calls to action you can put in this email.
And remember that starting the free trial was the first sale to this client, to keep them for the 7-day trial and beyond, you need to reinforce the sale. Remind them why they made the decision to pick your training in the first place. You can do this by reinforcing your positioning statement, your promise to your customer that differentiates you from other coaching programs.
Ideas for inspiration:
- Create a welcome script, or better yet, a video to hype up the athlete
- Let them know where to start. Do they just jump right in?
- Make intros to your community – have the athlete introduce themself in TH Chat
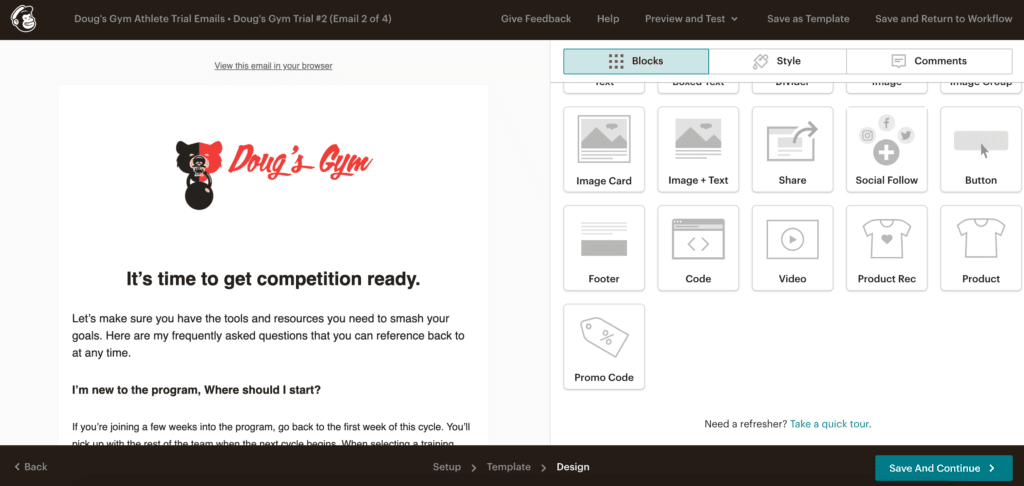
Day 2
Ideas for inspiration:
- I’m new to the program, Where should I start?
- How should I warm-up / cool down?
- Can I swap exercises if equipment isn’t available?
- Can you help me track my diet & nutrition?
- Can I post videos for form check?
- Where do I go for support help?
- How do I update my working max?
Day 3
How involved are you with your team? What they can expect from you? Do you do weekly check-ins? Video reviews? How do you stay engaged while coaching remote? Let them know here.
Day 7
Drive your value home, let them know what else you offer as a coach, and encourage their friends to join. This is where we’ll work in upsell, cross-sell, and “pre-marketing”.
If your client started as month-to-month, tell them about your annual plan, especially if you offer a discount for upgrading. Put a time limit on that discount to create a sense of urgency.
Do you coach other training communities in the TH marketplace? Perhaps a client really likes your coaching style but they didn’t start with the right programming for them. If you offer other programs that span different ability levels or goal-specific training, let them know so you can keep them in your organization. This is called pre-marketing.
Referrals and word of mouth marketing are a great, free way for you to gain more clients. Ask the athlete to invite a friend to train with them. Include a link to your TrainHeroic Marketplace Page so they can send it to their friends and take advantage of the free 7-day trial.
Lastly, get them to follow you on social, subscribe to your blog, YouTube channel, or anything else you offer. The deeper your connection with these athletes, the more value you provide them, and the longer they’ll stay a paying fan.
// creating email automation with TrainHeroic, Zapier, and MailChimp
If you’re a coach who has more than one team in the TrainHeroic Marketplace, you may want to send different emails for each team. For example, each of your teams might have a different logo and branding. Or maybe you have a beginner team and an advanced team and you’d like to send different messaging to each. Rather than send one generic email to all of your athletes, you can use automation to send team-specific emails.
If you coach one team and don’t need to indicate in Mailchimp who is on what team, then you can skip this step.
We do this by creating a custom field in Mailchimp. This will allow us to send the Team Name associated with each athlete into Mailchimp.
1. Click Audience from the left-hand menu then Signup forms
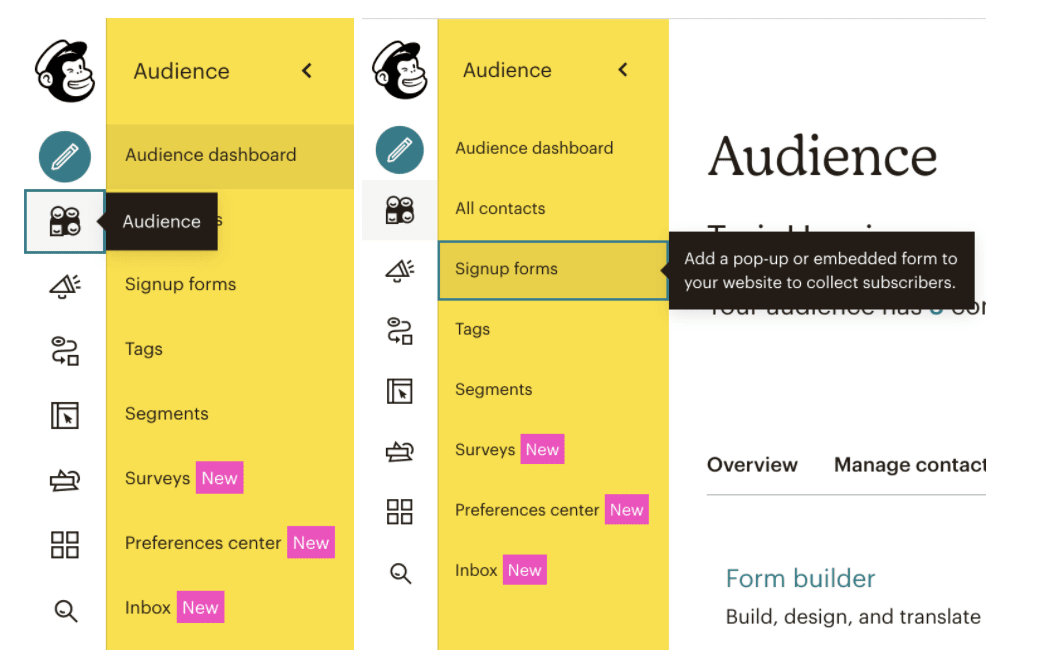
2. Locate Form builder and hit Select

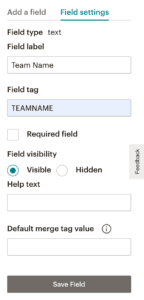
3. On the right-hand side, locate Add a field then select Text
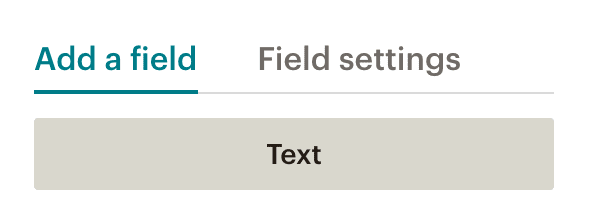
4. Fill in the field label. We’re going to use Team Name.
Using a Field tag allows you to pull an athlete’s team name into the email copy for additional personalization. We used TEAMNAME which we can be easily referenced in emails.
Once you’ve filled in both of those fields, select Save Field.
5. Now, select All Contacts from the left-hand menu. You will notice a new Team Name column.

Later in this guide, we will show you how to send Team Name into MailChimp from Zapier.
Set up a tag in MailChimp
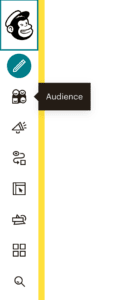
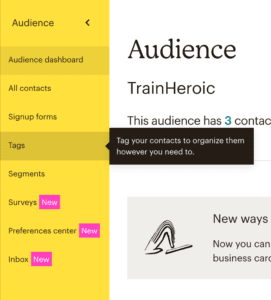
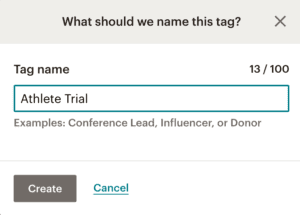
- To get started, select Audience in the left navigation then Tags.

Creating your automated campaign
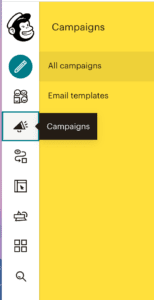
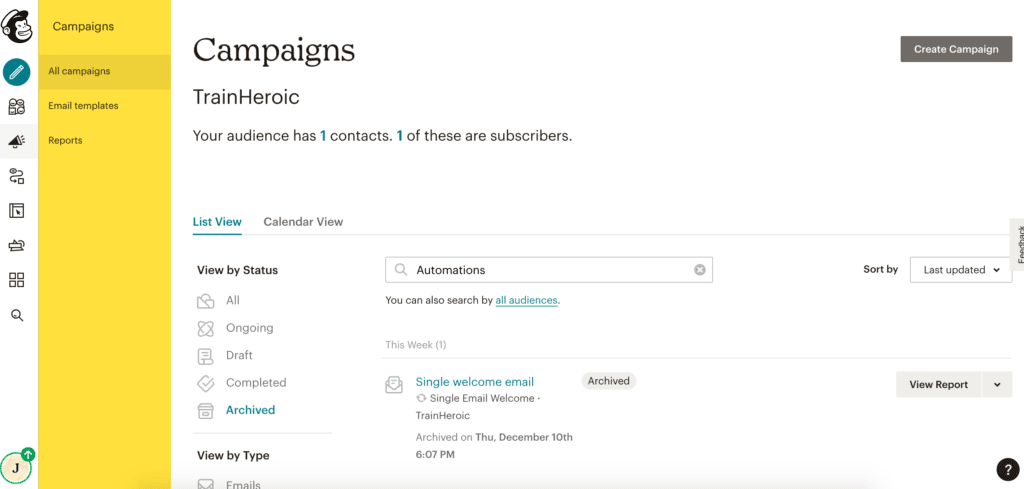
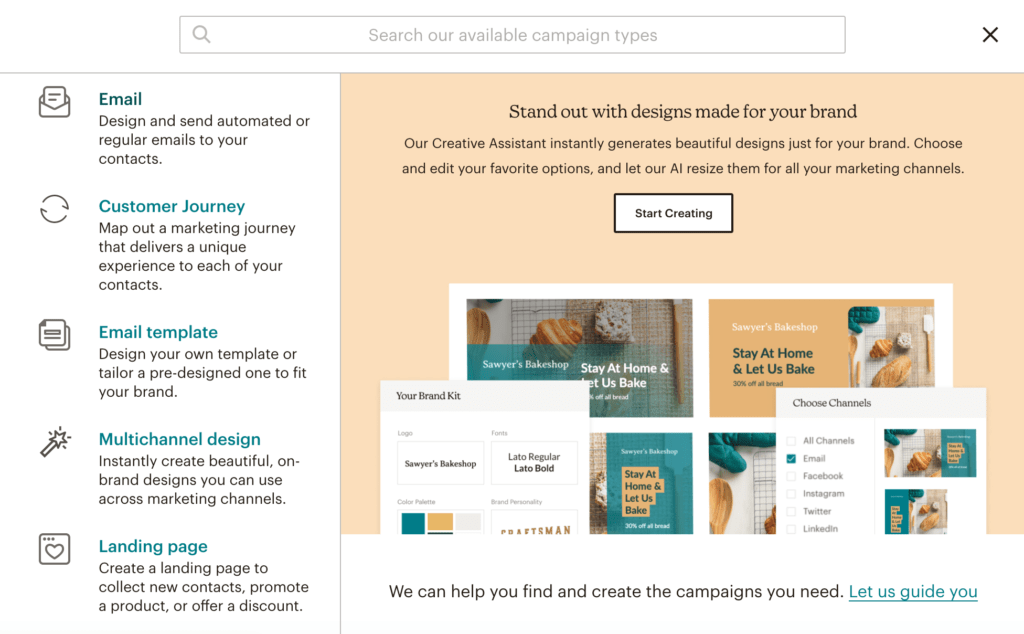
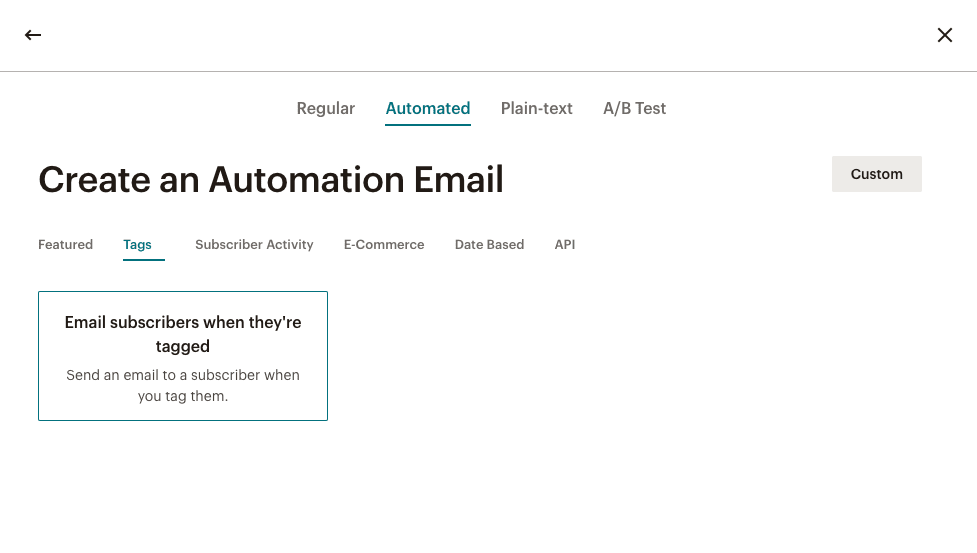
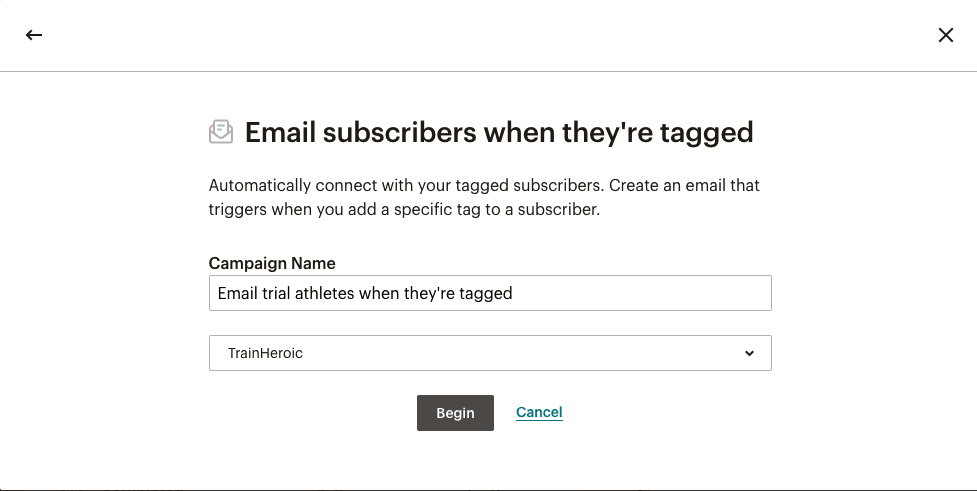
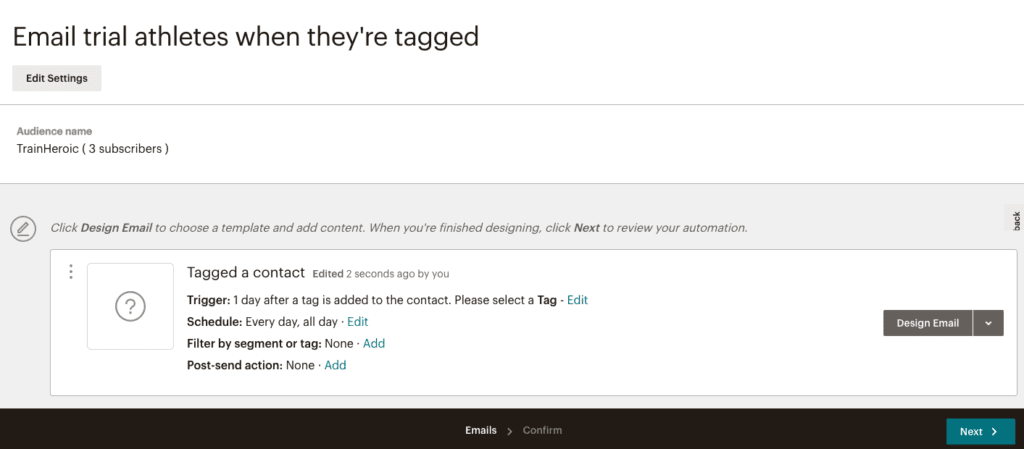
Build your workflow

Setting up multiple workflows (for coaches with multiple training communities)
If you have multiple teams and want to send different campaigns to each team, we will now add an additional filter to the workflow. If you don’t have multiple teams in the TrainHeroic Marketplace, you can skip this step.
1. Select Add next to Filter by segment or tag.
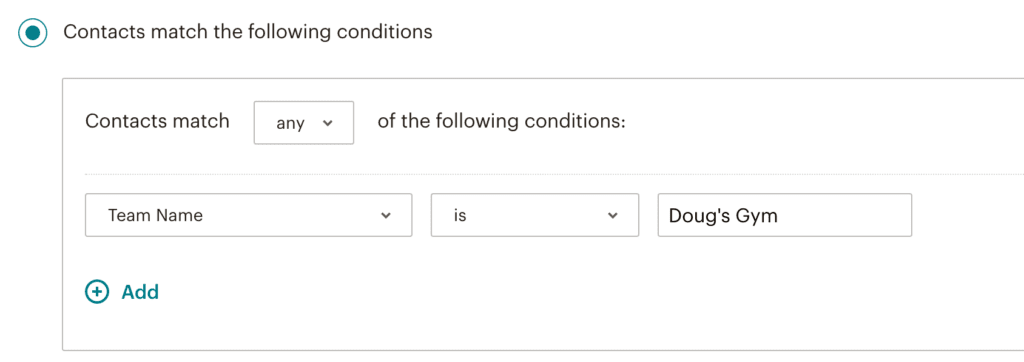
Check the box then select Contacts match the following conditions

2. Select the dropdown and locate the custom field you previously created: Team Name.
Next, indicate which team this campaign applies to.
Team Name is <enter your team name>
Make sure spelling and capitalization are correct or else the filter may not work properly.
3. When finished, select Save Segment in the top right corner.
Now, you have told this workflow to only send to athletes who started a trial and who are part of a particular team.
Adding your emails to the workflow
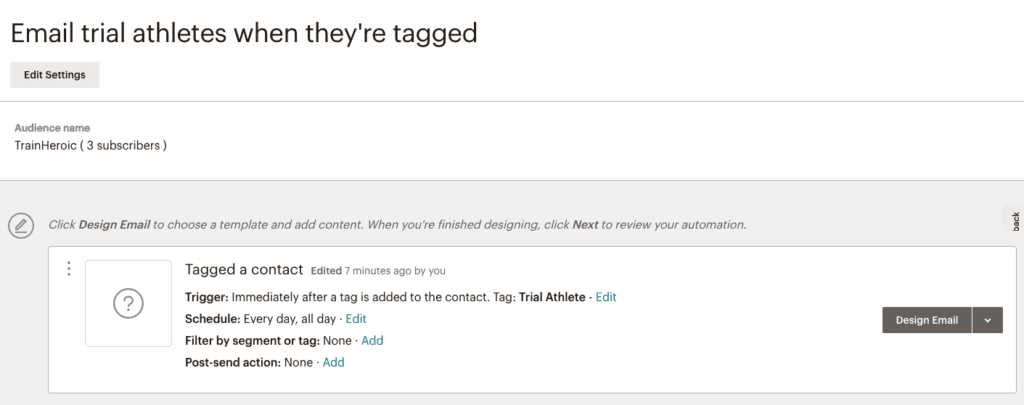
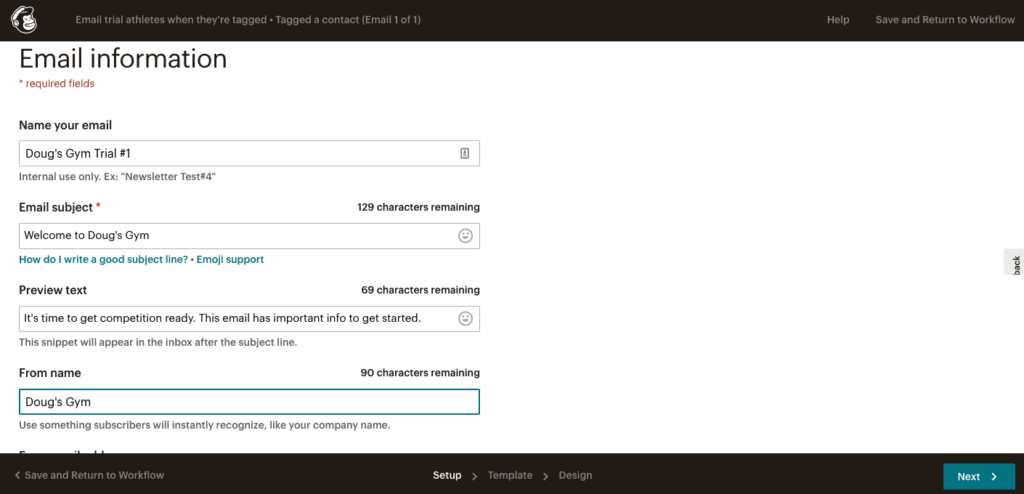
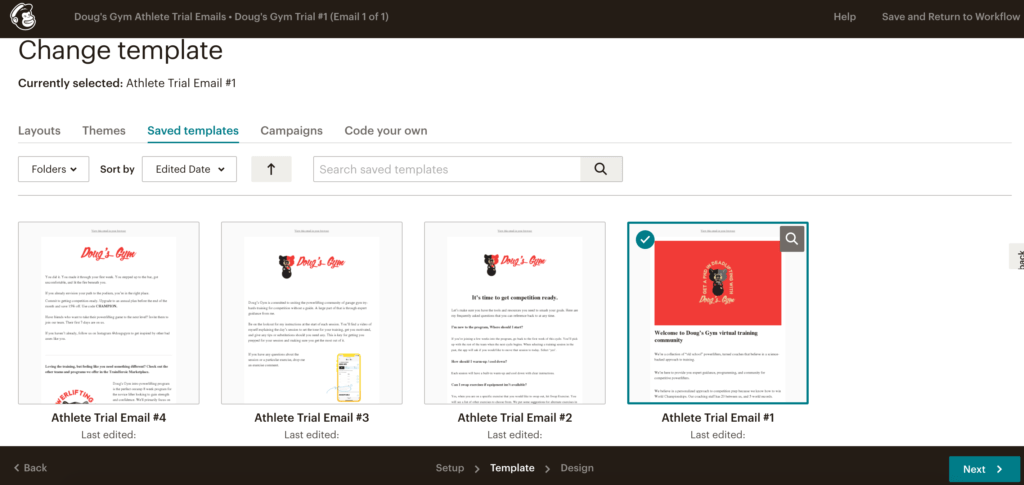
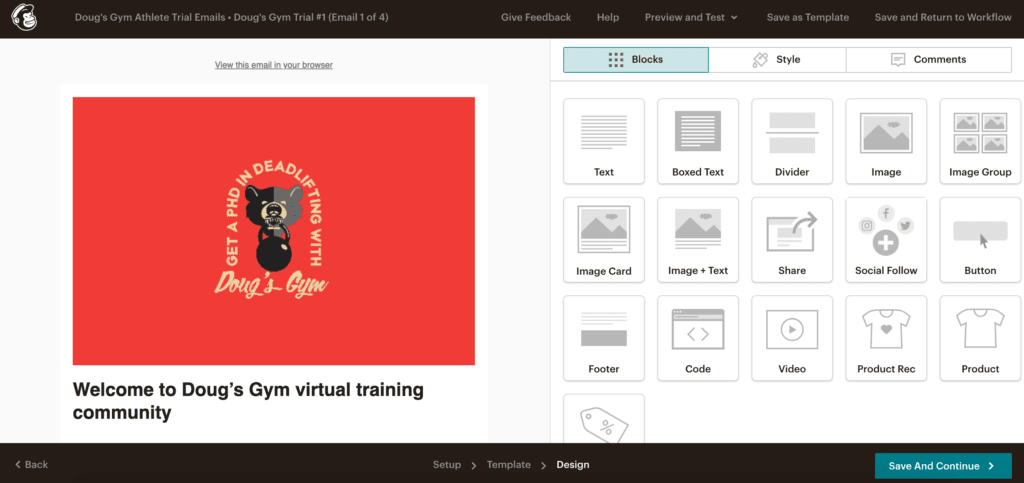
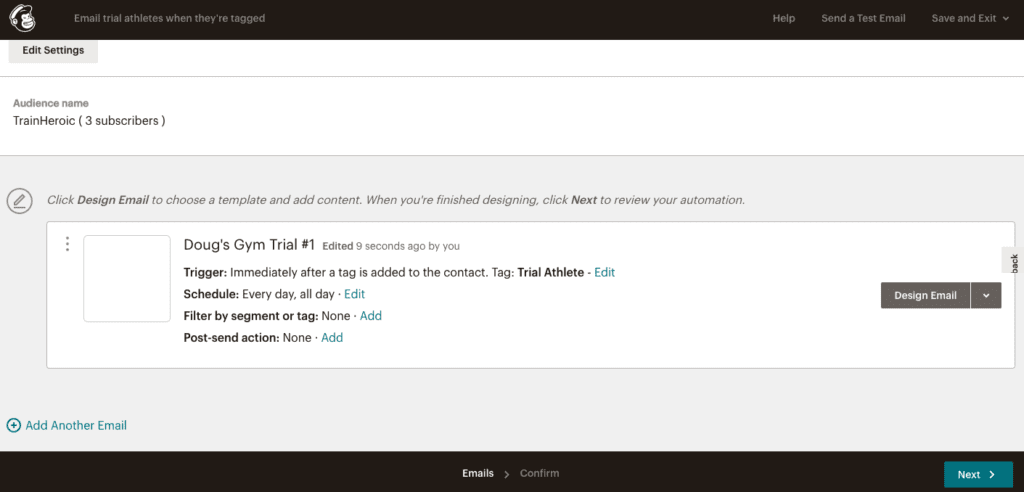
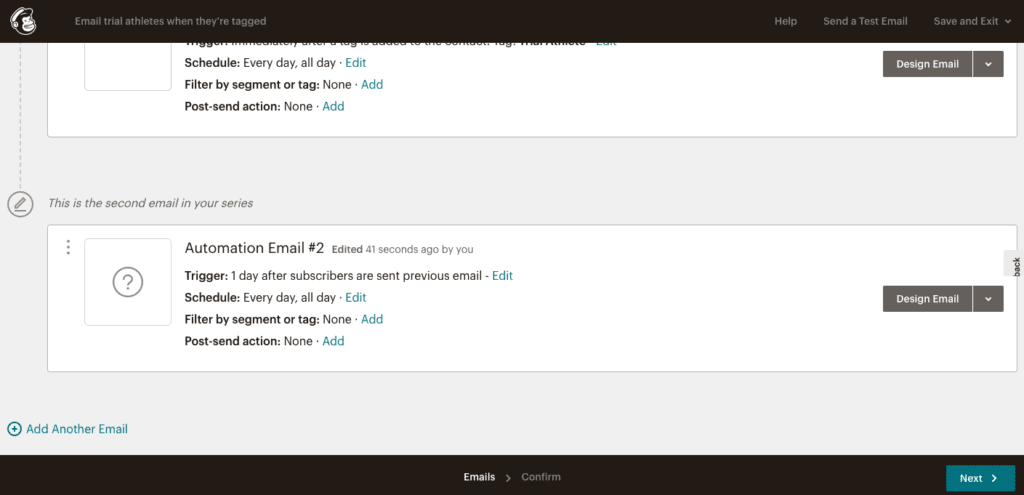
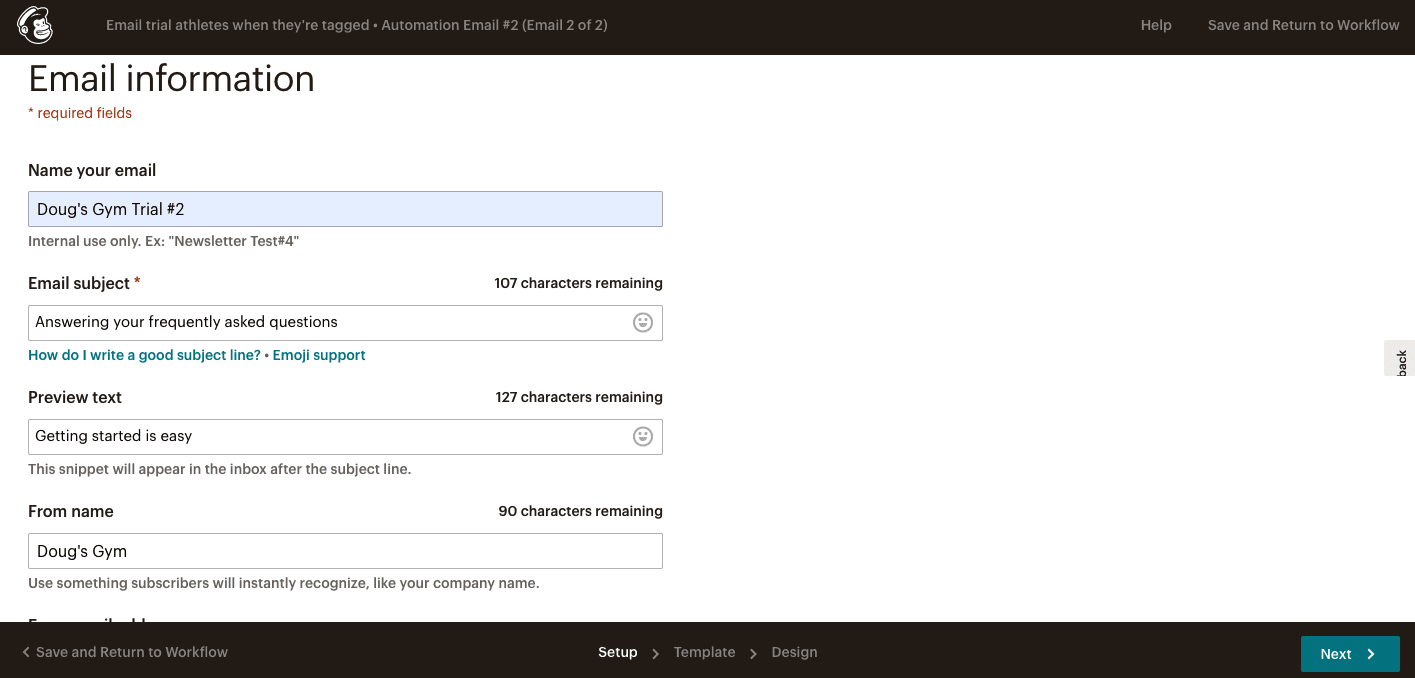
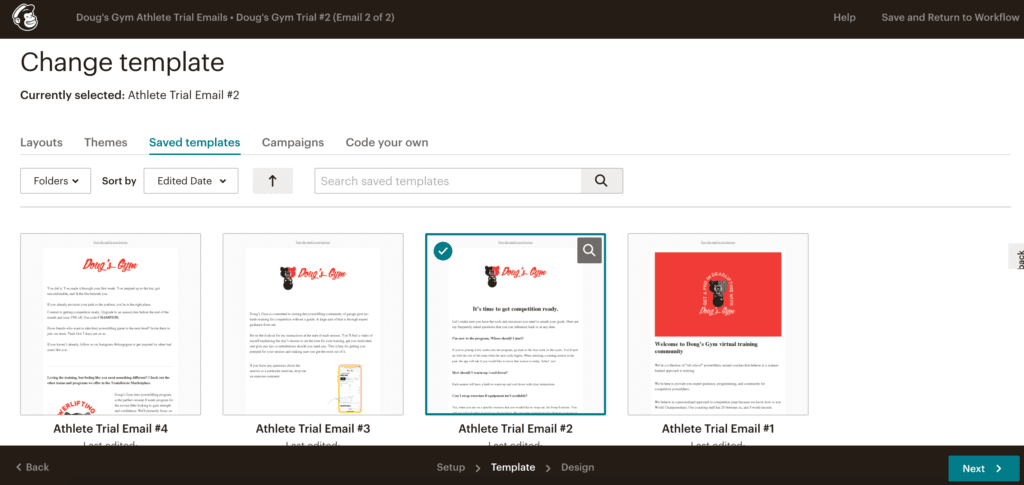
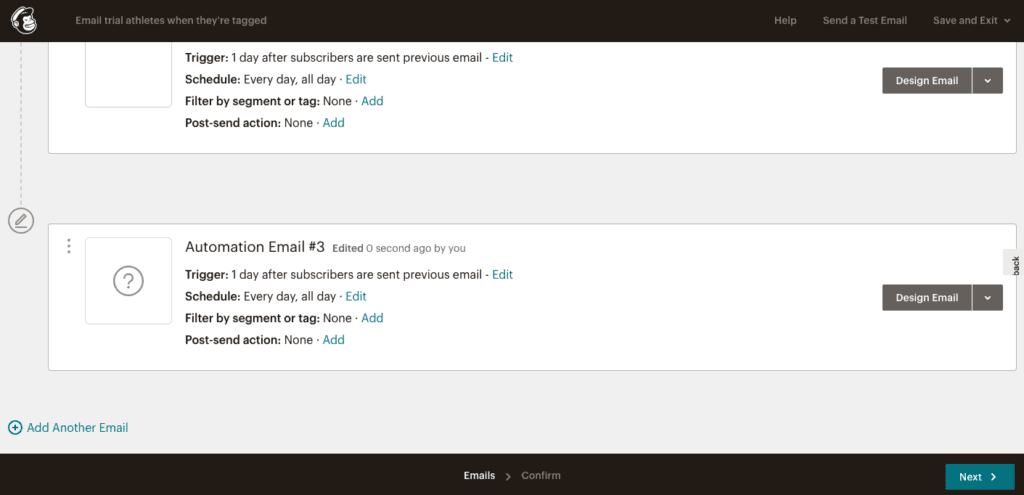
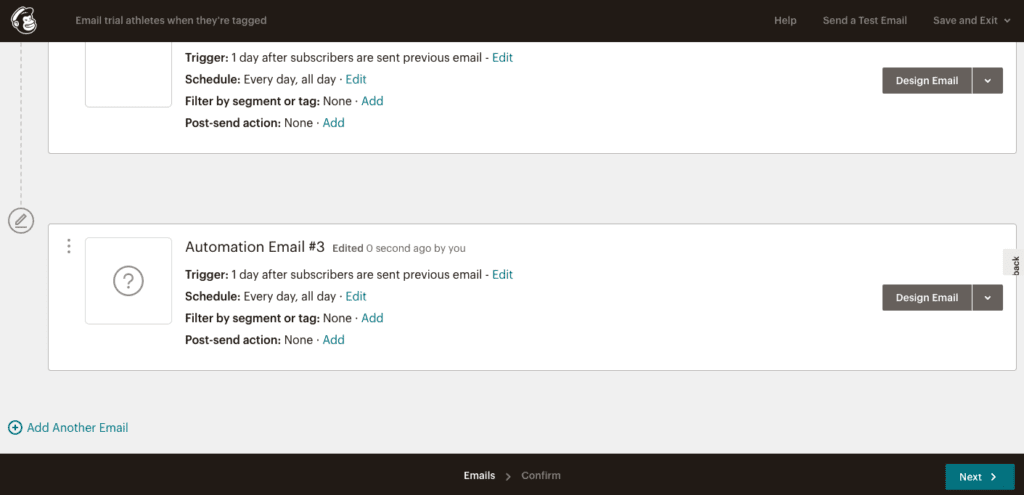
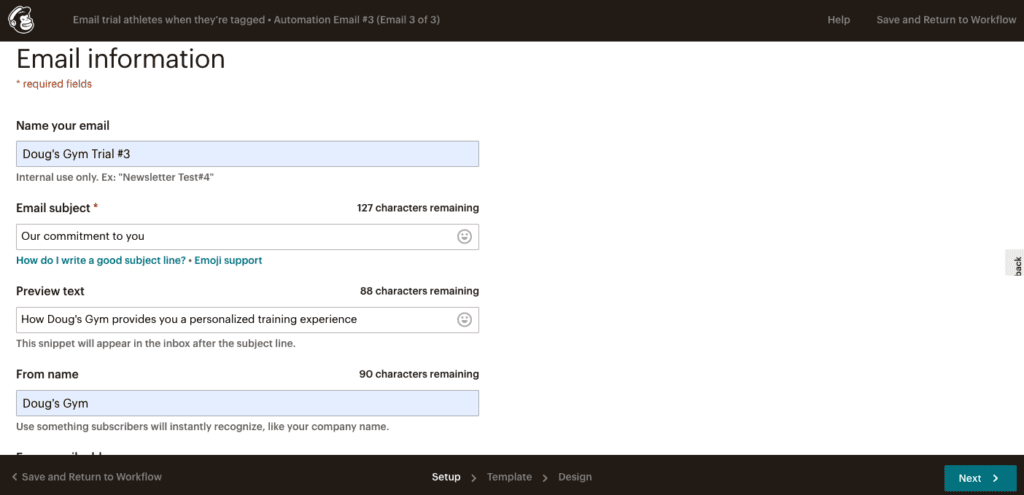
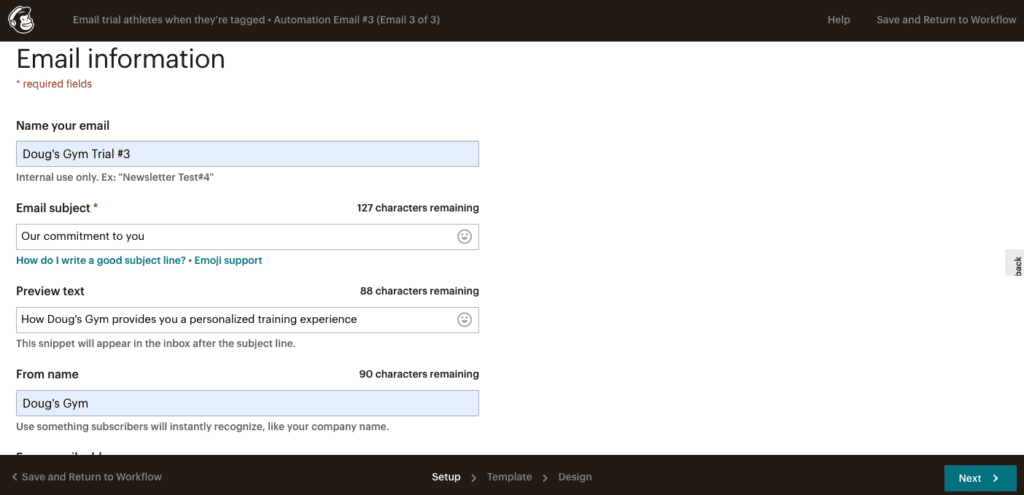
Next, select Add Another Email to build the fourth and last step in the sequence.


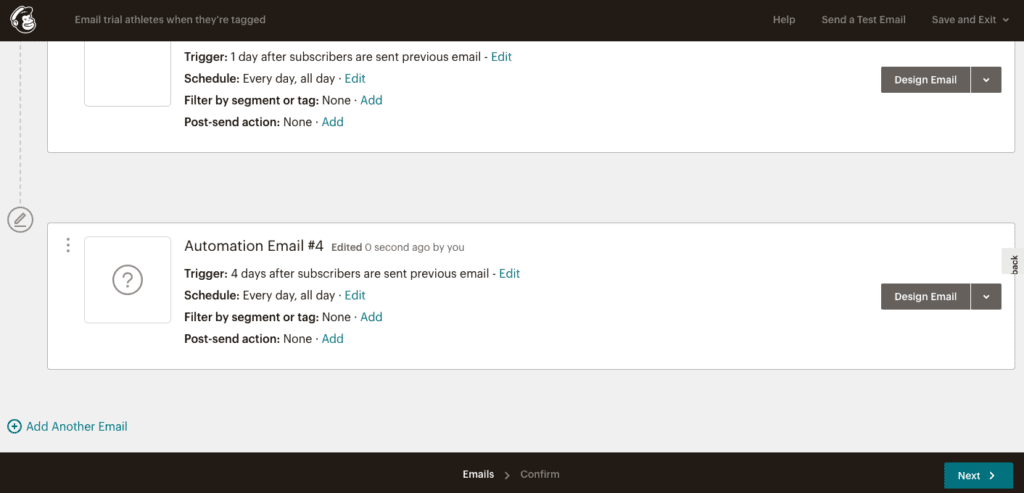
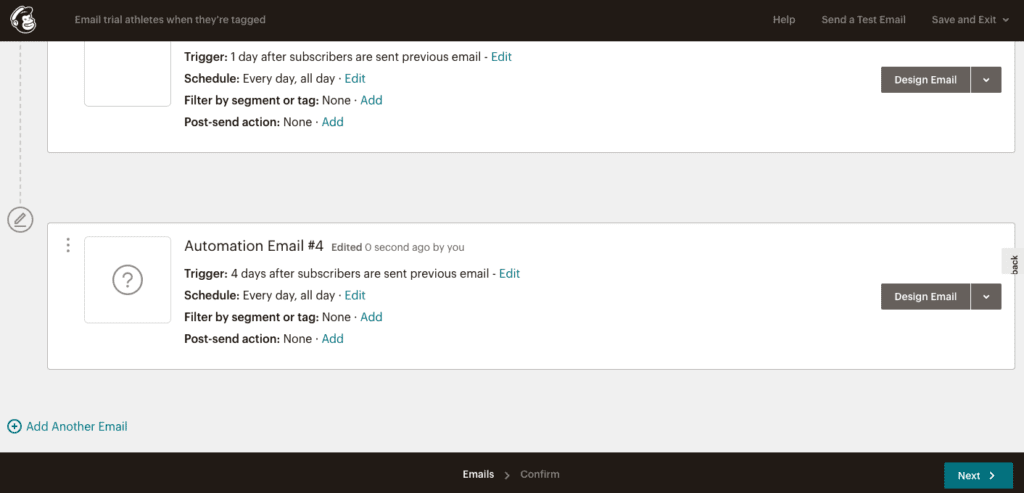
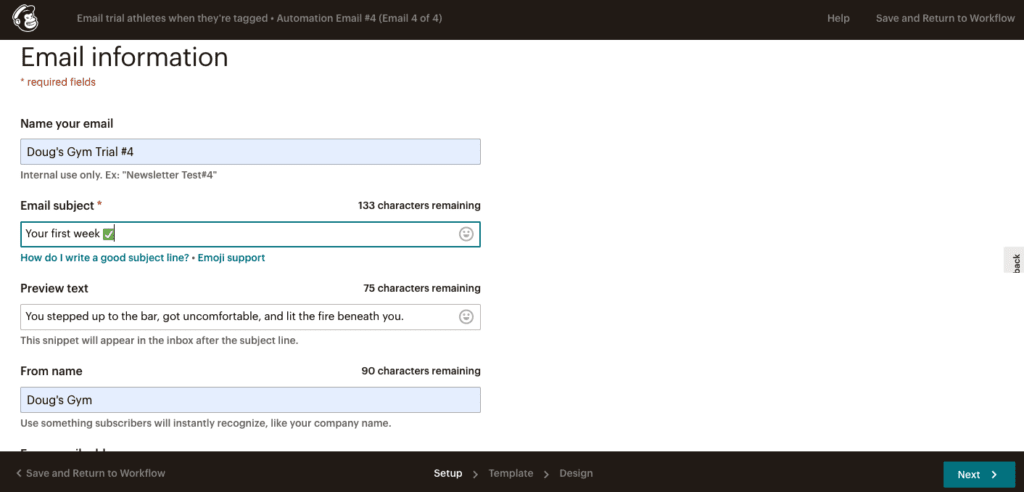

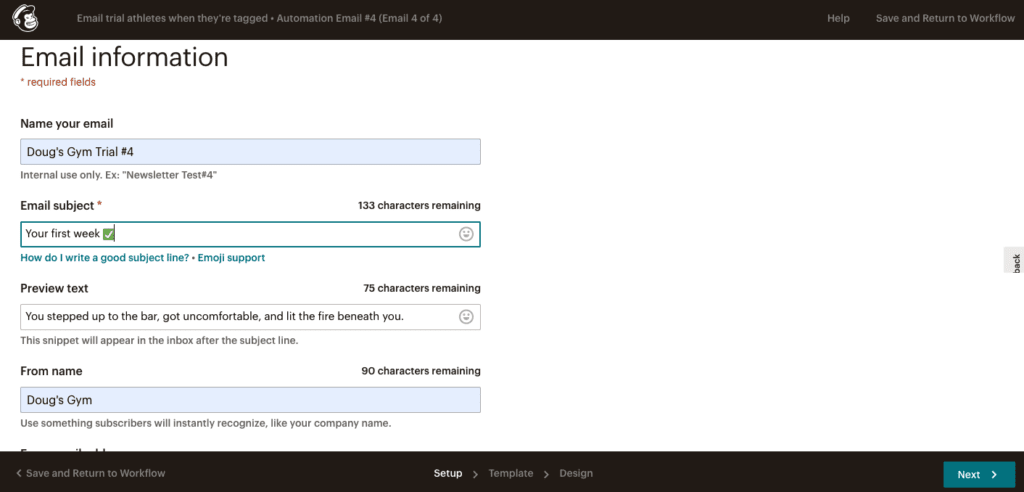
Now you have all 4 email automations set up within your workflow.


Testing your workflow
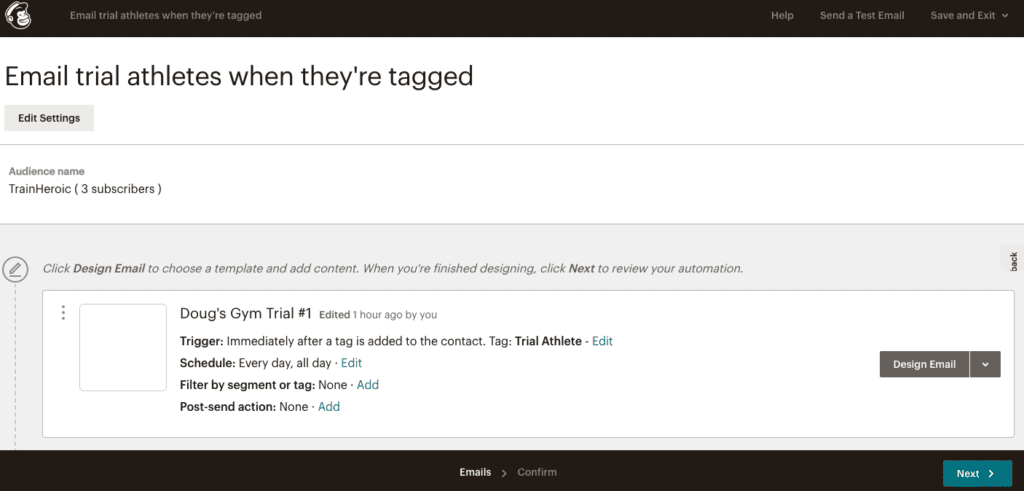
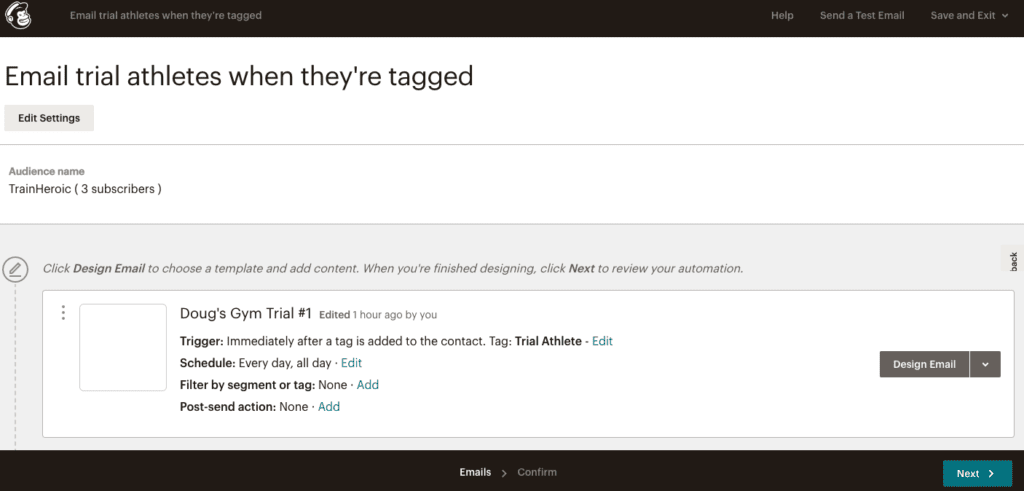
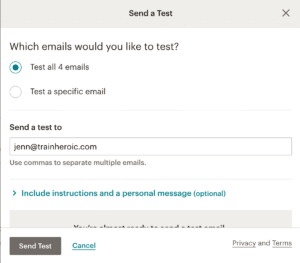
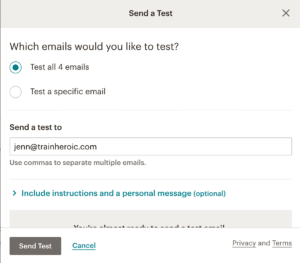
If you’d like to make any adjustments, select Design Email to head back to edit your templates.
Once you’re ready to move forward, hit Next. You’ll see a recap of the workflow you just built.
Here you can review the audience, tracking, and emails that will send in this workflow.
Make sure everything looks correct. If not, select Edit next to the section that needs to be adjusted.
Once you’re ready to launch, select Start Sending in the bottom right corner.
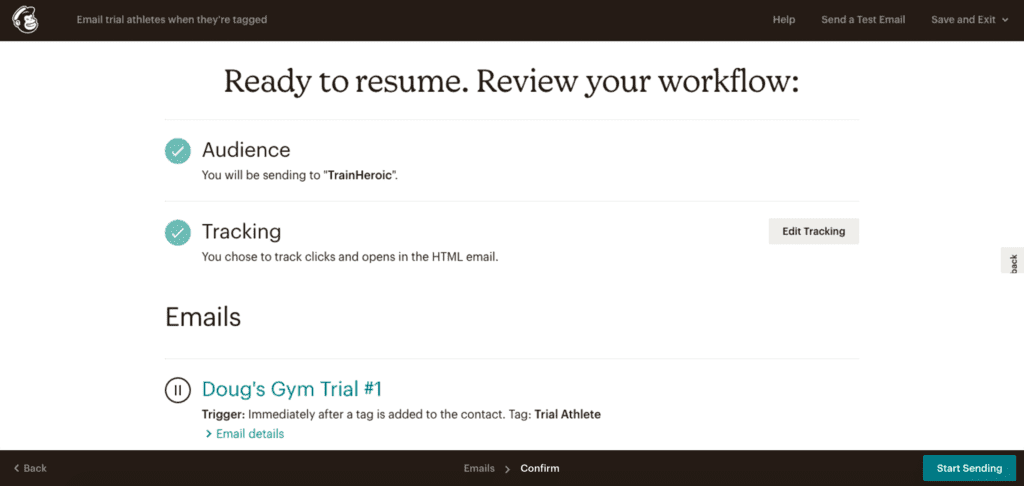

Congrats on setting up your first campaign in MailChimp!


// Setting up your first zap: connecting zapier, trainheroic, and mailchimp
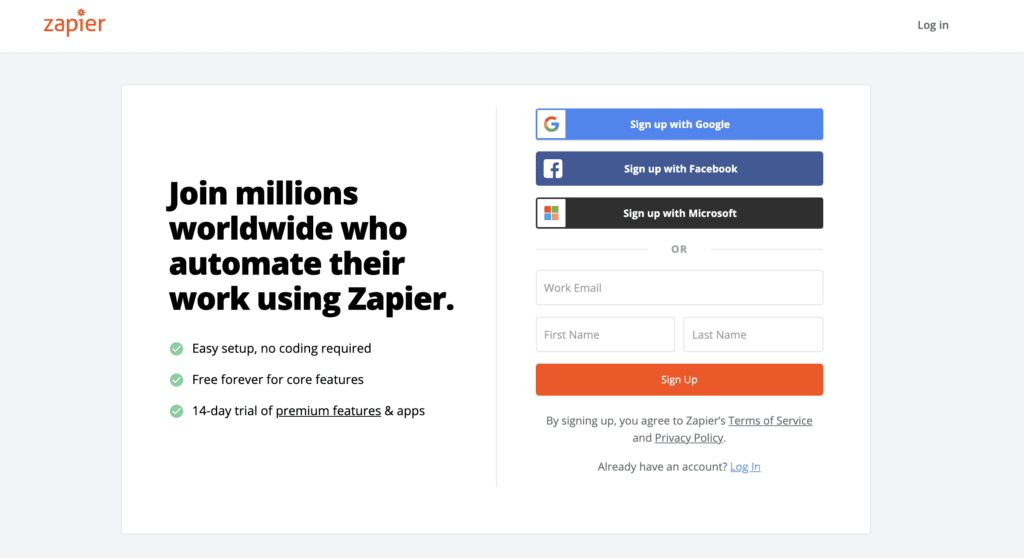
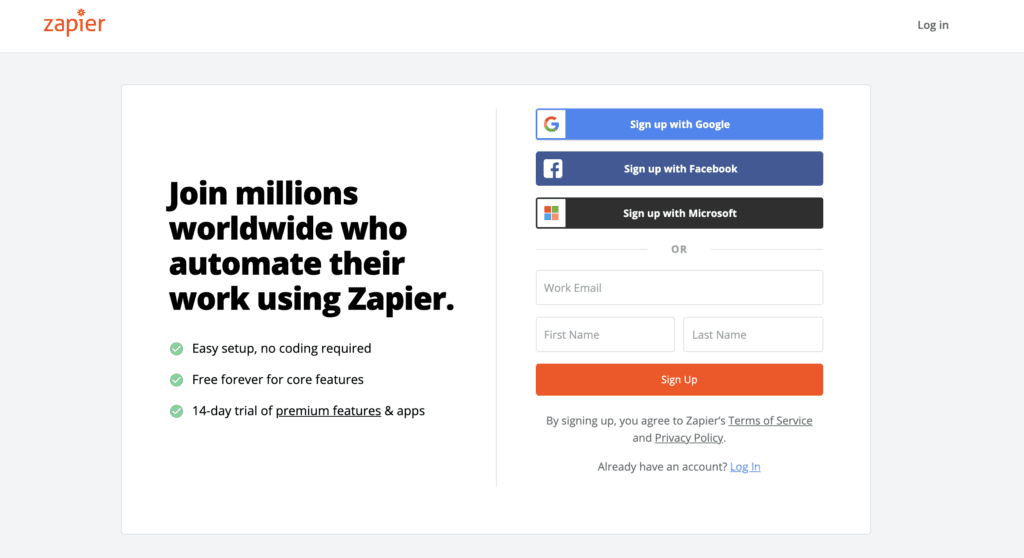
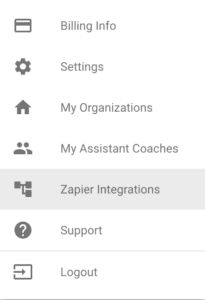
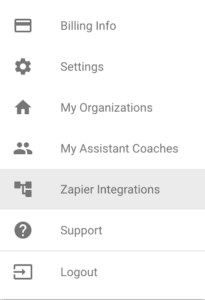
- Log into your TrainHeroic Coach account. Click the drop down in the top right corner then select Zapier Integrations.
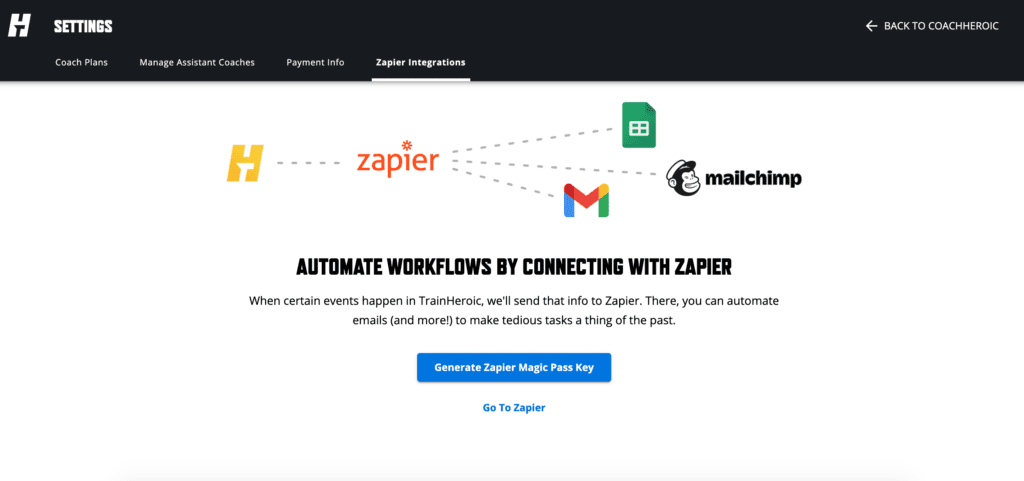
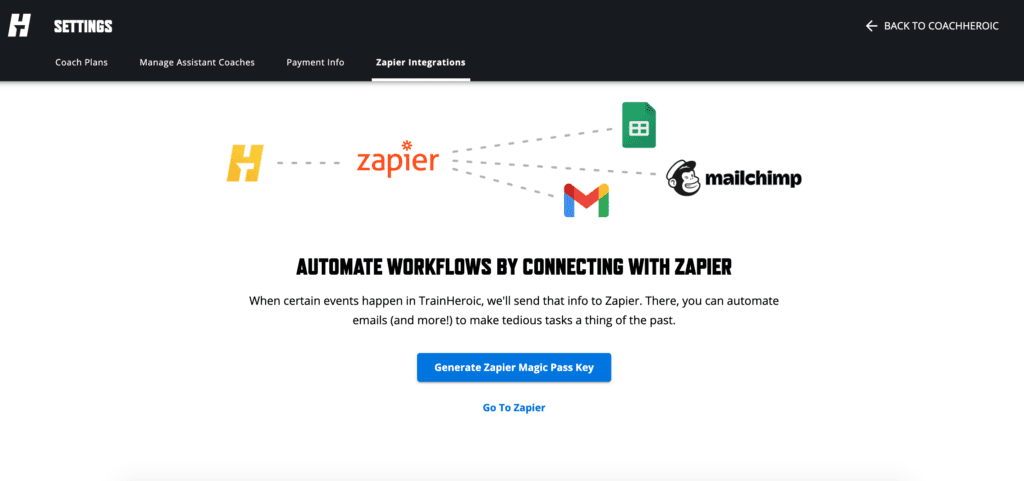
3. You’ll be directed to the TrainHeroic Integration page on Zapier.
Scroll down on the page and locate the section labeled Connect TrainHeroic to 3,000+ Apps. This is where you will find our pre-built templates to help you connect supported apps even faster.
Select Try it next to the template named “Send Mailchimp welcome campaigns for new trial starts in TrainHeroic Marketplace”
Only use this template if you are using Mailchimp as your email provider. If you’re using a different email service provider, you’ll have to make a new zap and start from scratch.


4. Next, in the bottom left corner, select Go to Advanced Mode. This step is important so we can configure an additional setting for Mailchimp.
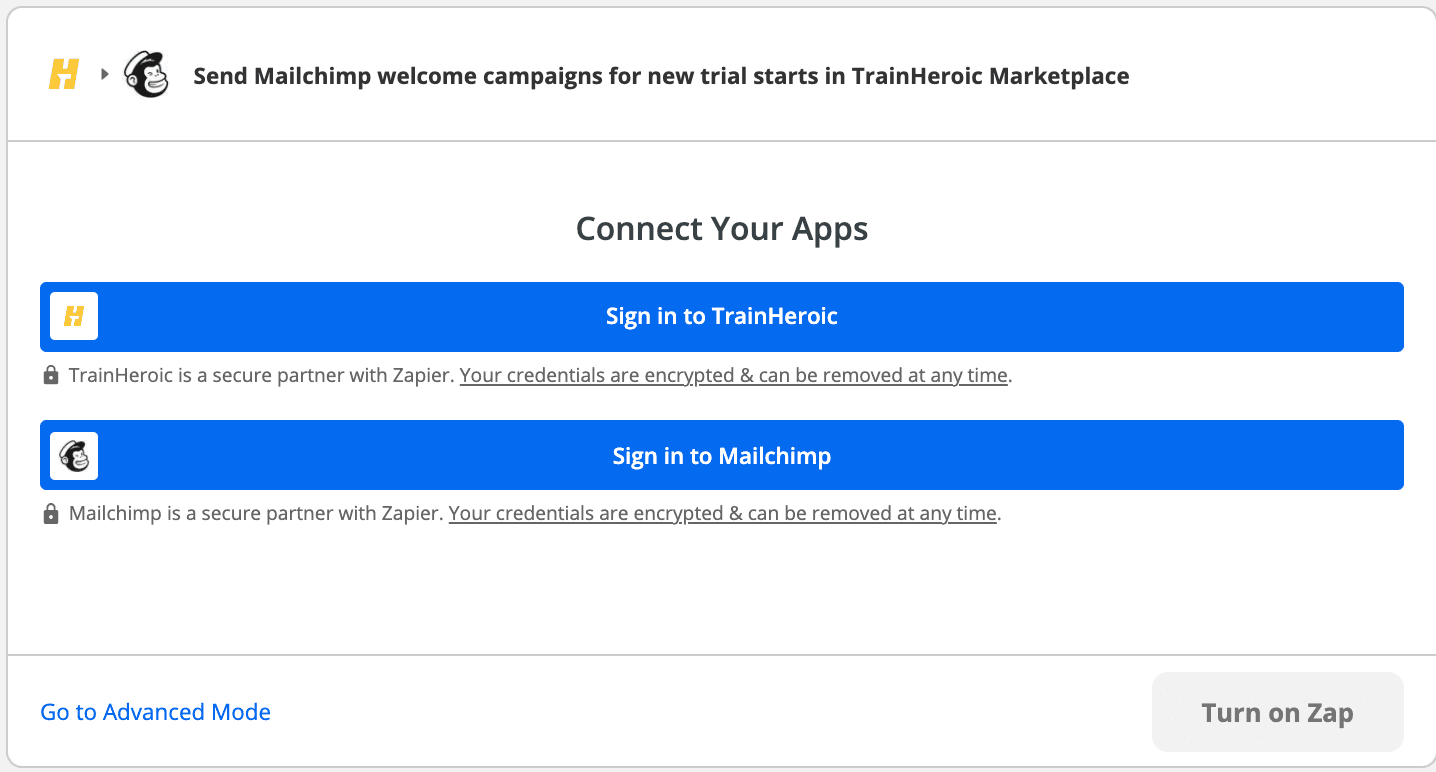
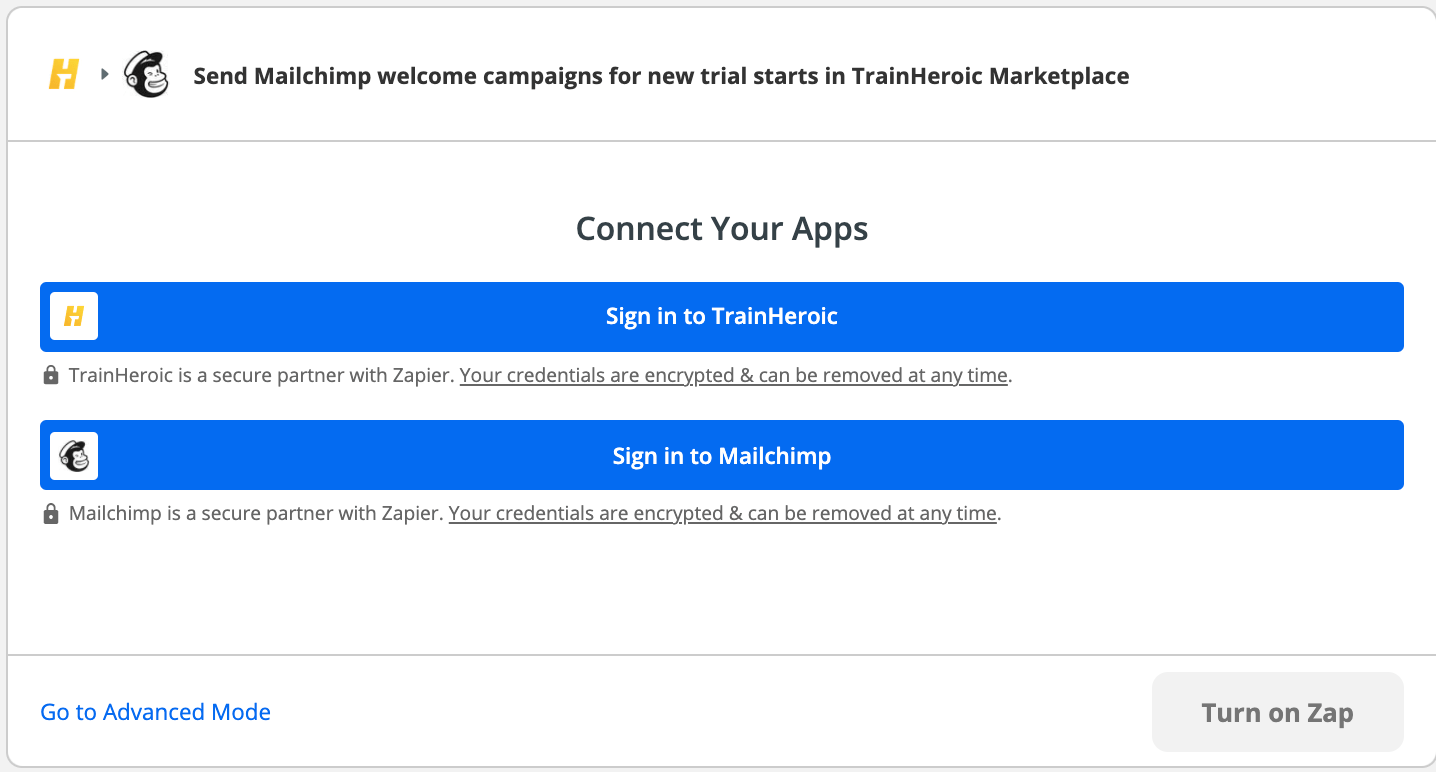
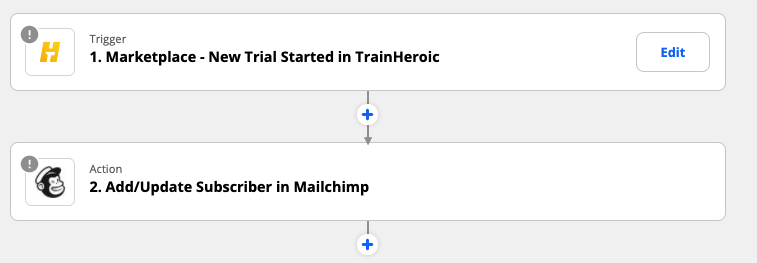
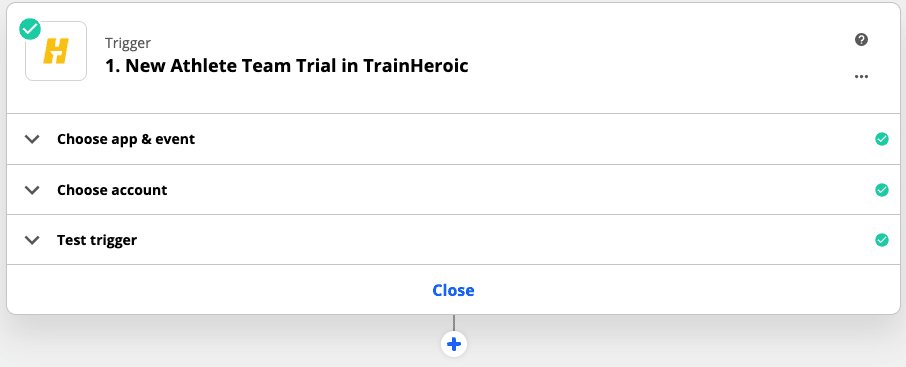
5. Since we’re starting with a template, you’ll notice that the Zap is already named with the apps and triggers selected for you.
Simply begin by hovering over the trigger and selecting Edit.
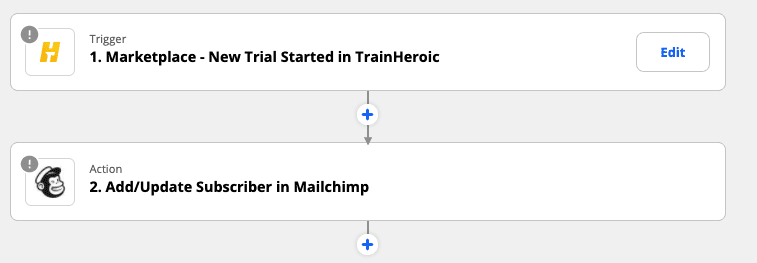
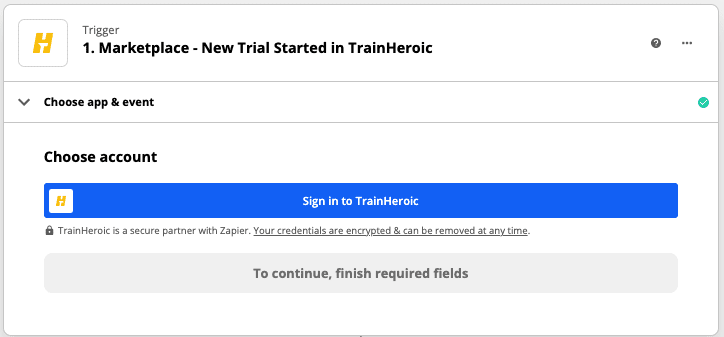
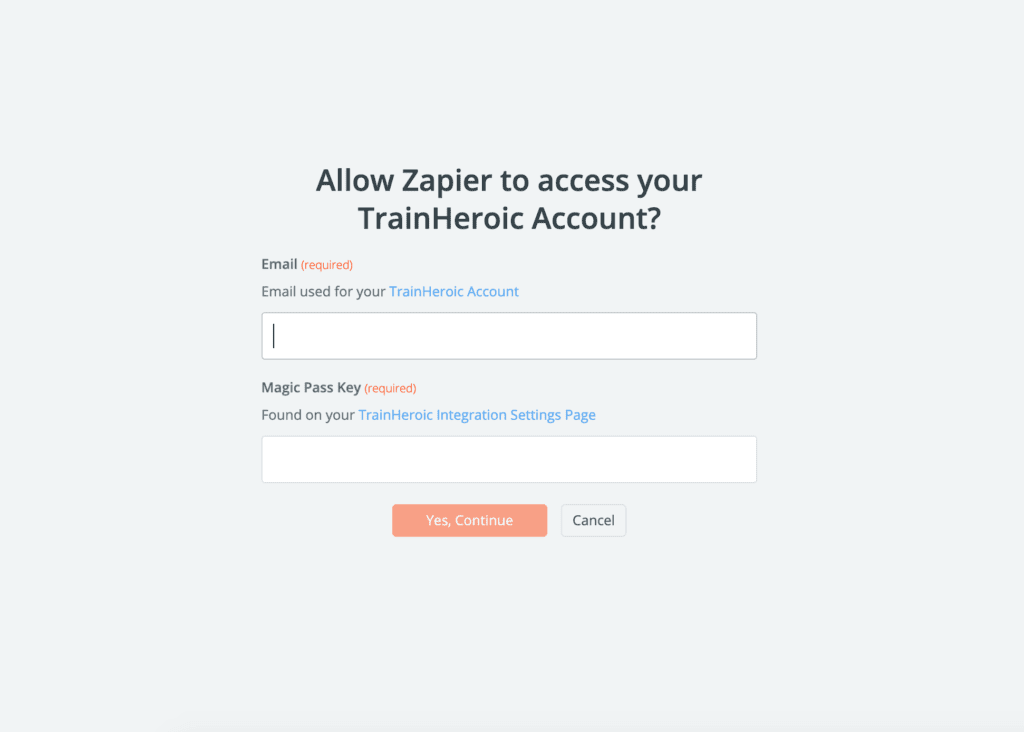
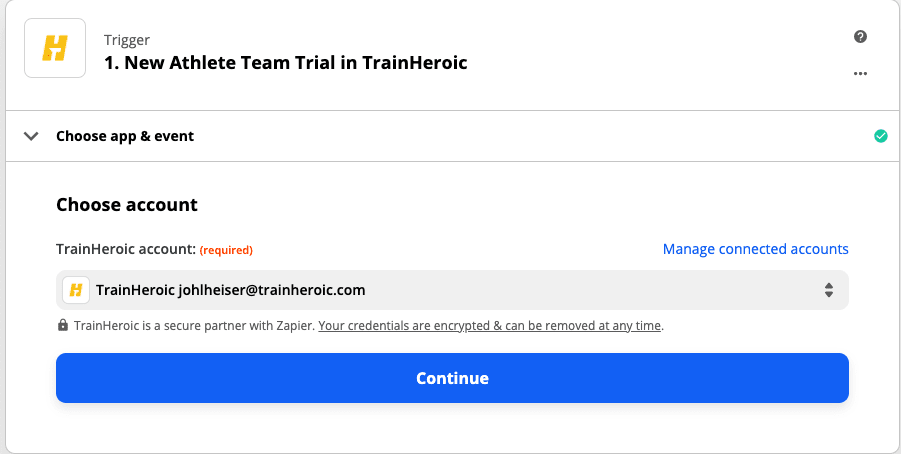
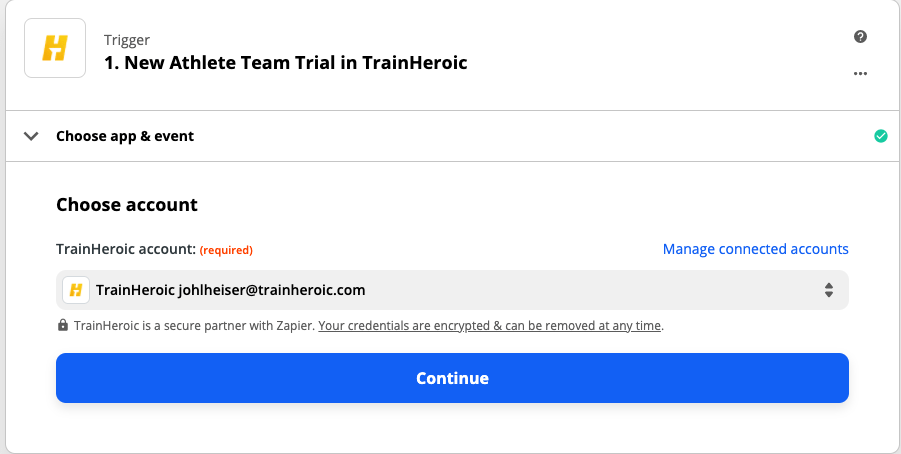
6. Here is where you will log in to your TrainHeroic account. Select Sign in to TrainHeroic.
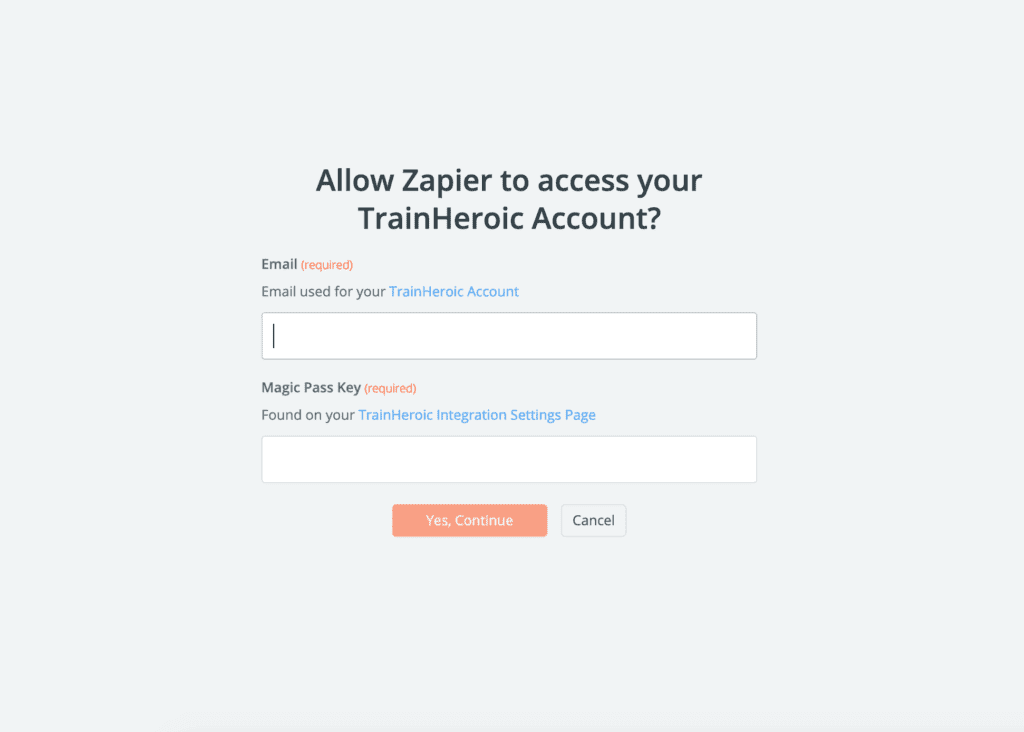
Next, enter your TrainHeroic email address and paste your Magic Pass Key. Then hit Yes, Continue.
Testing the trigger
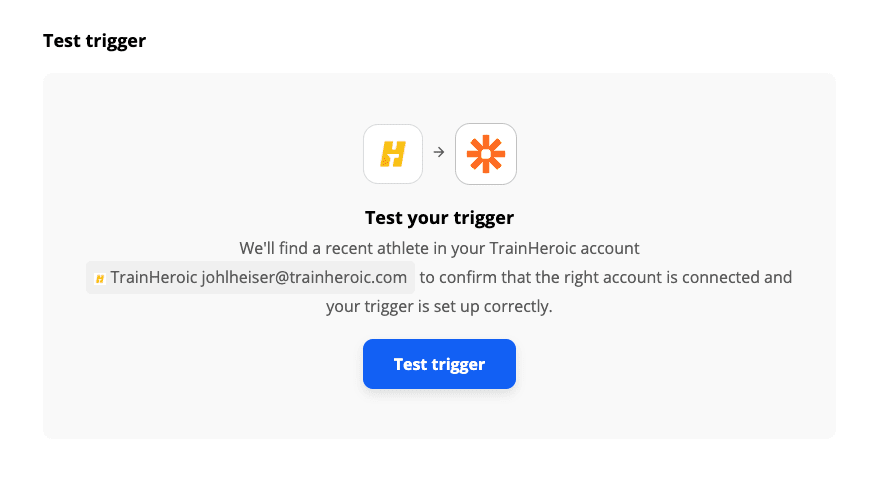
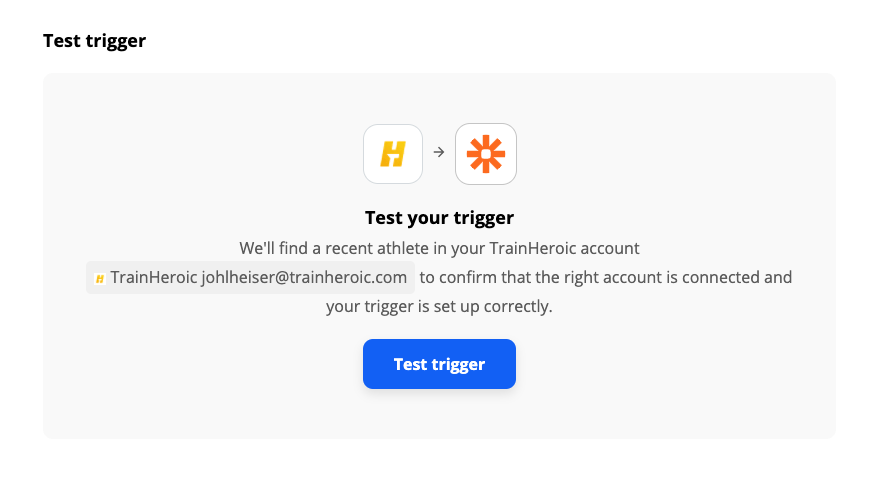
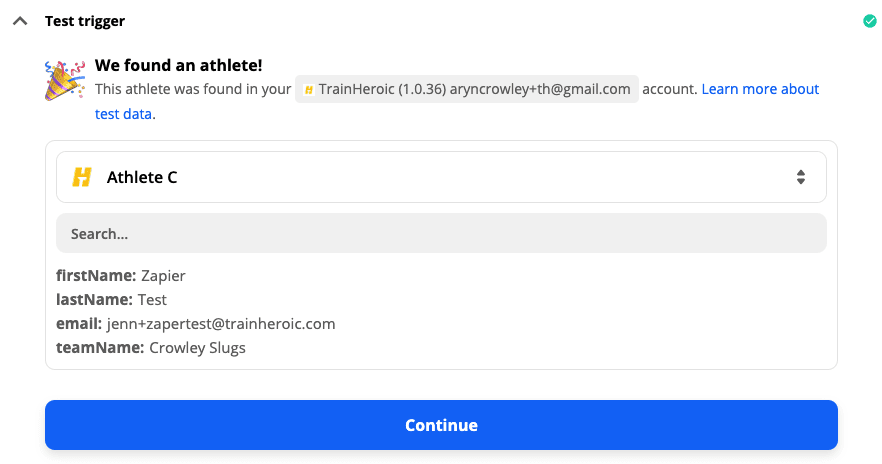
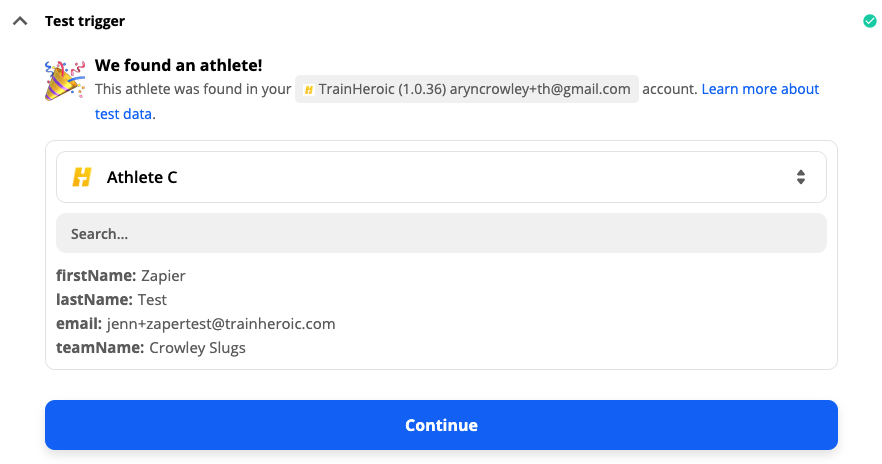
- Next, select Test trigger to search for an athlete in your account.
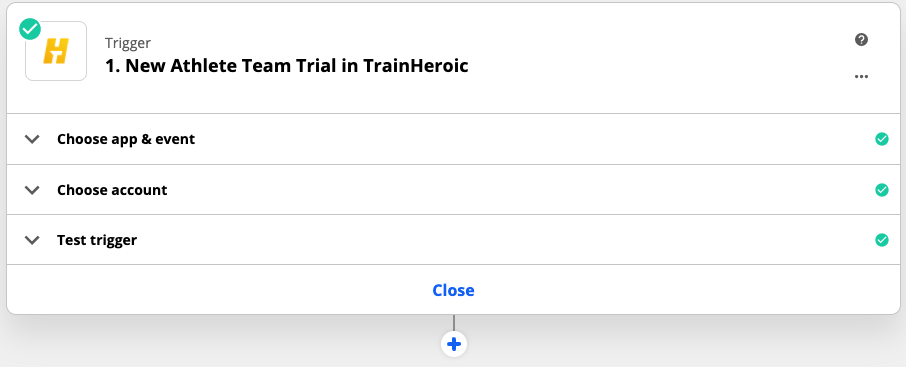
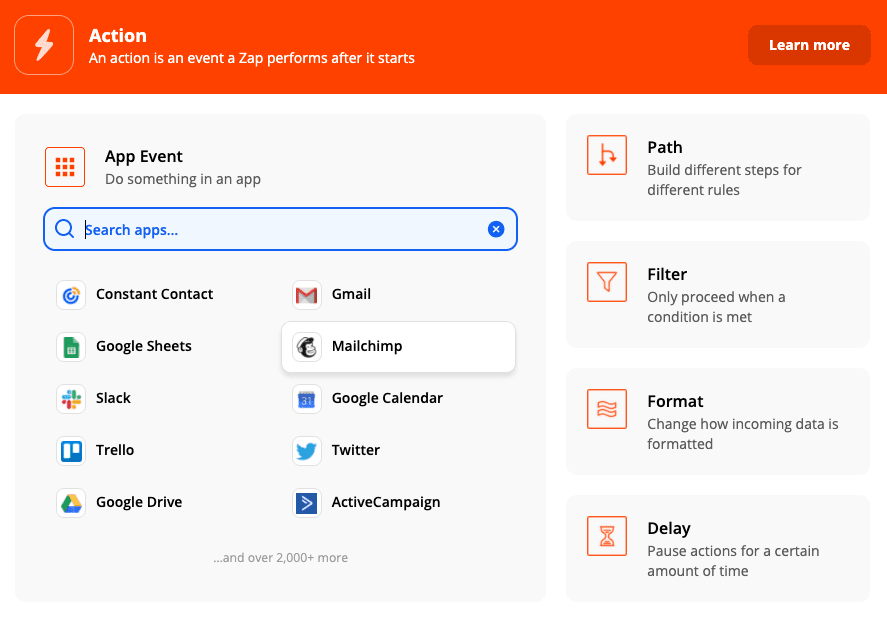
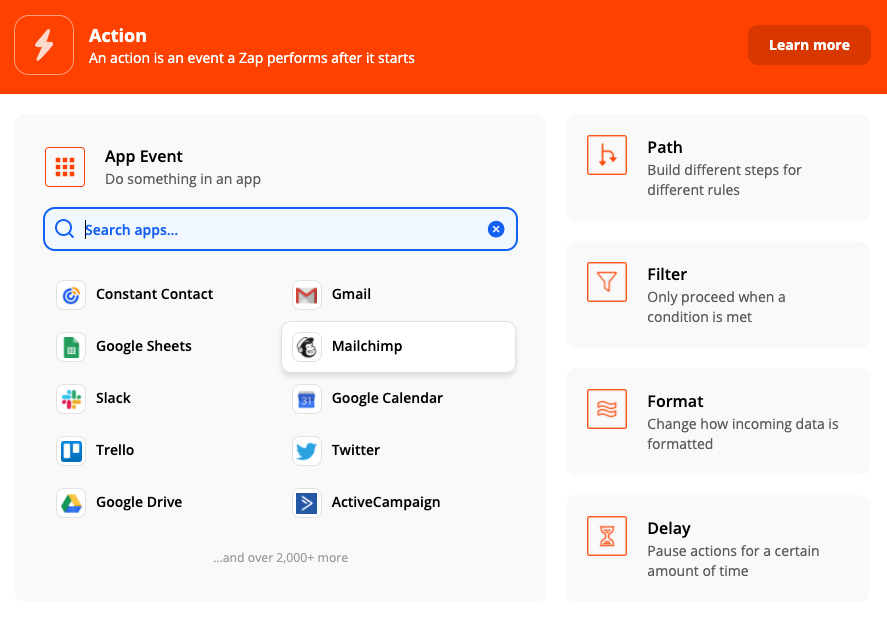
Under Action Event, select Add/Update Subscriber then hit Continue.
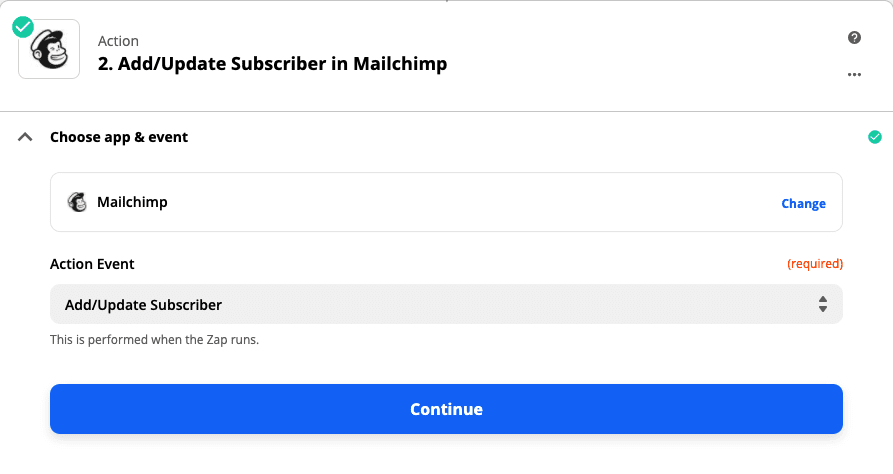
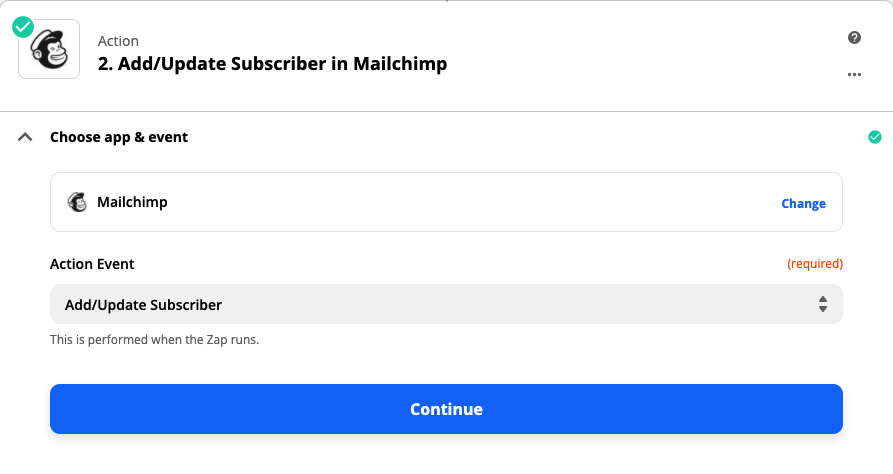
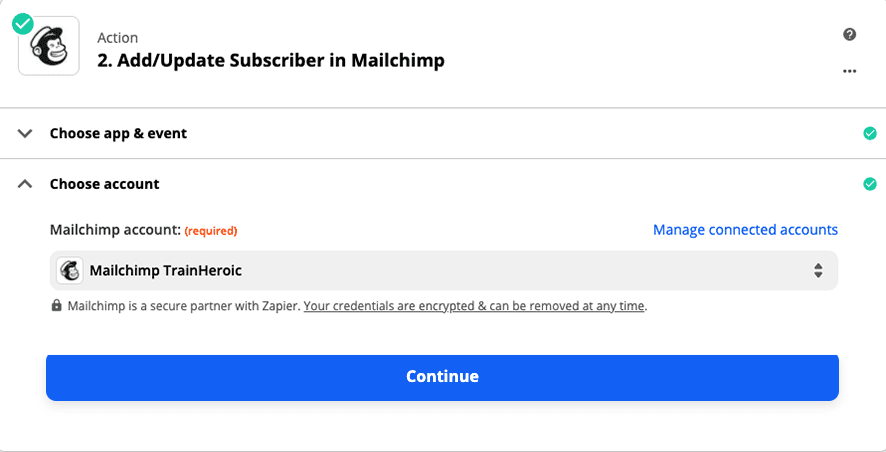
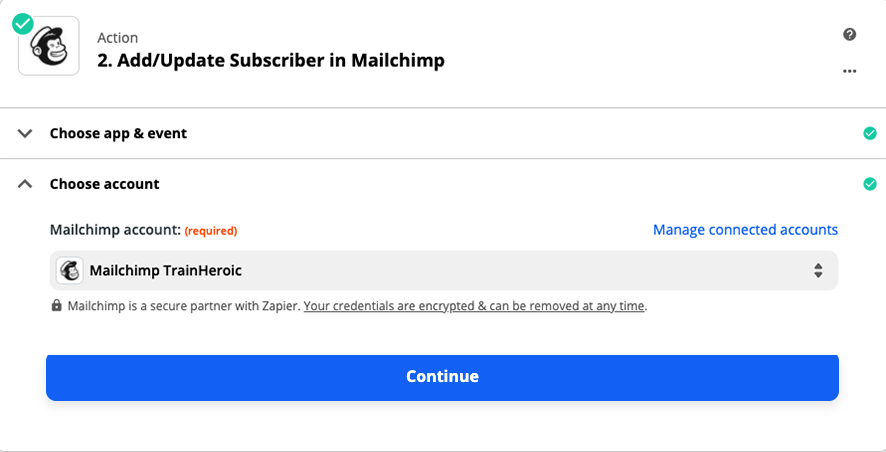
Head back to your Zapier setup and select Continue.
Make sure Update Existing says Yes to make sure all trial athletes will receive the email whether they are a new or an existing contact in MailChimp.
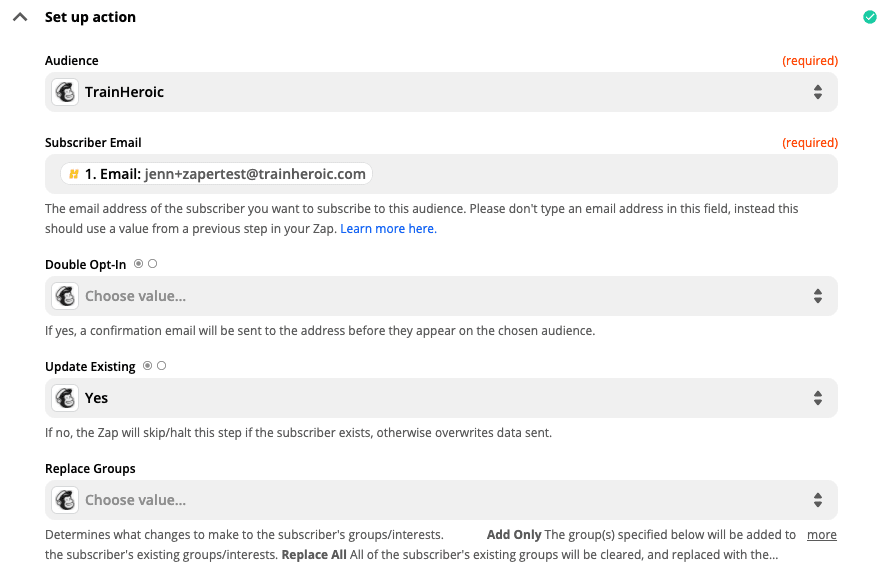
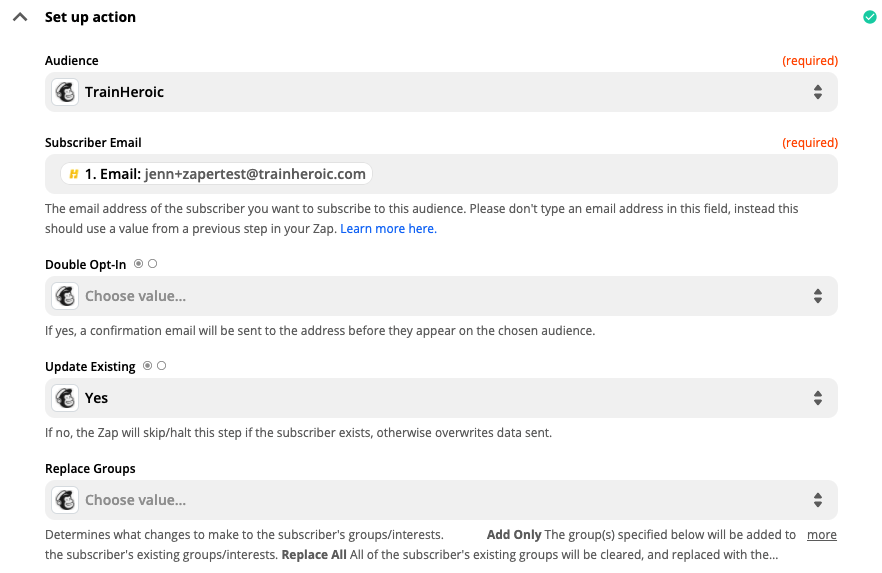
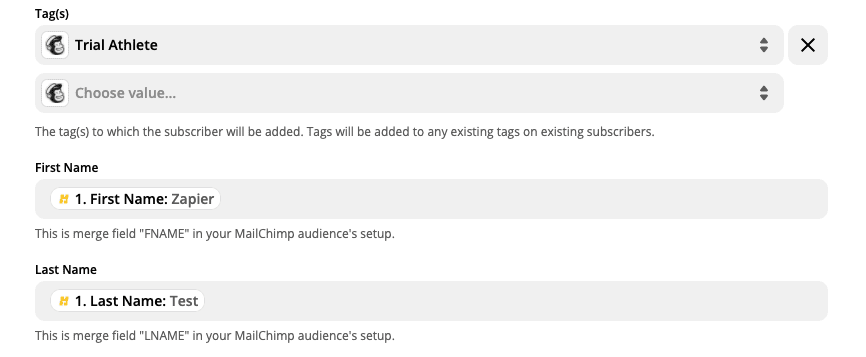
Find your sample athlete’s first and last name. Adding these will allow you to personalize emails.
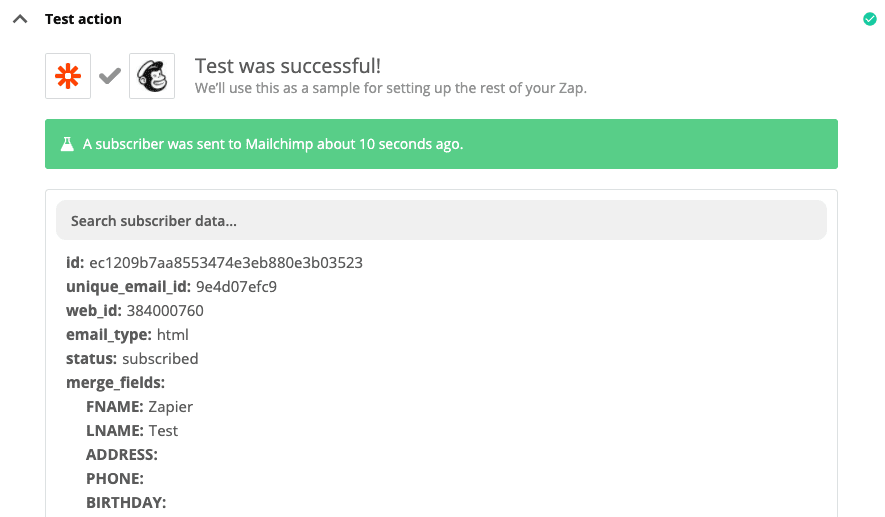
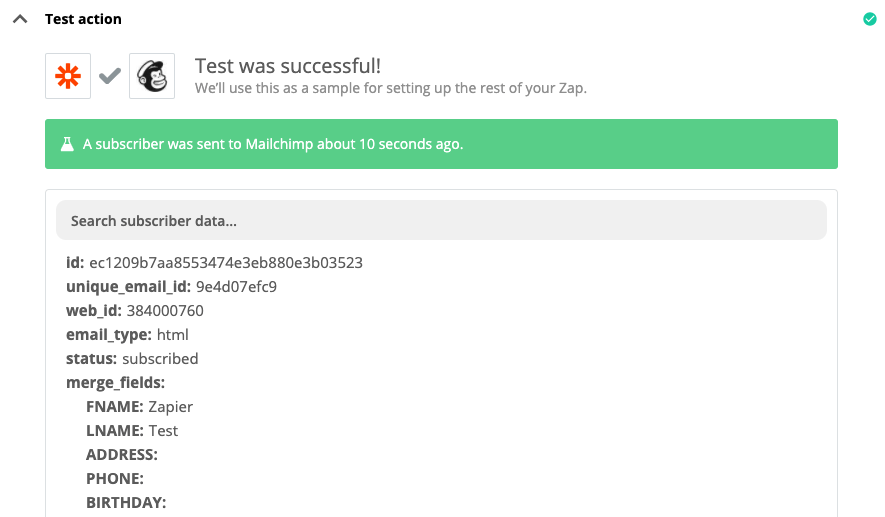
Now let’s see what it looks like in MailChimp
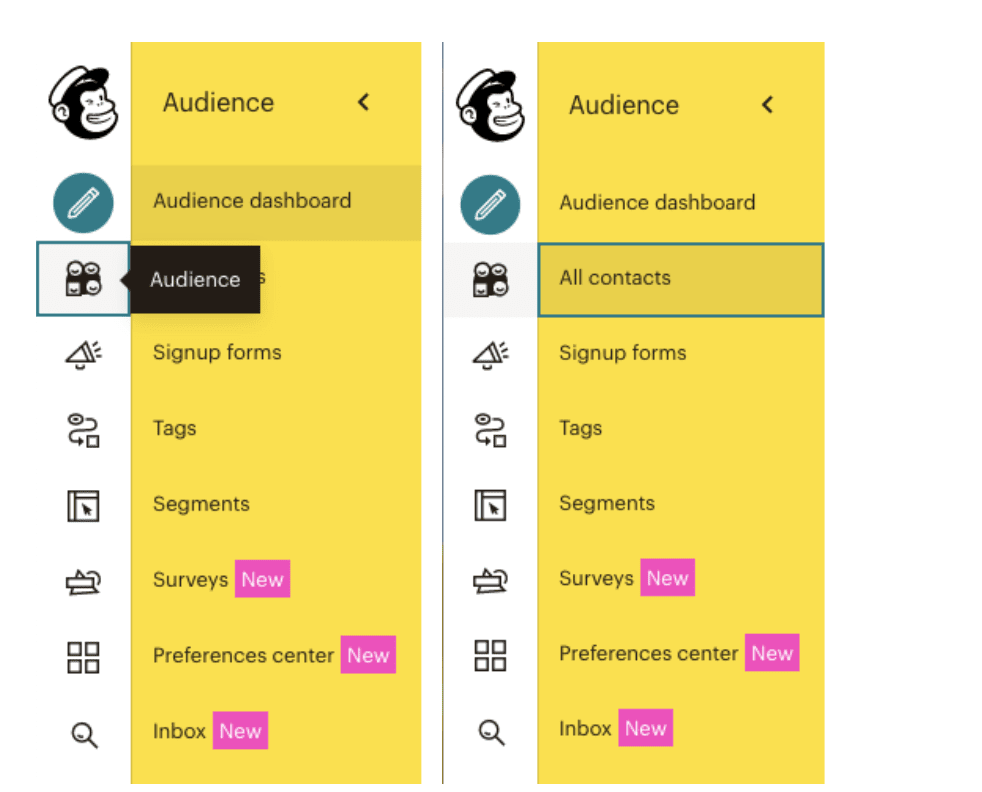
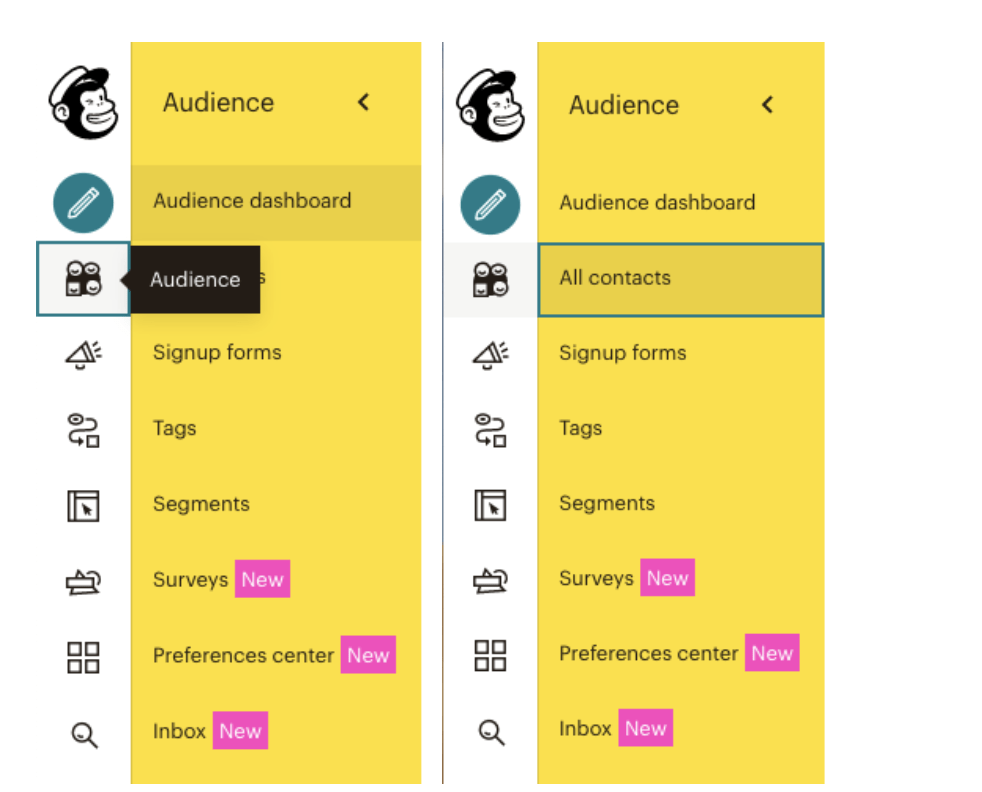
- In MailChimp, select Audience from the left navigation then All Contacts.


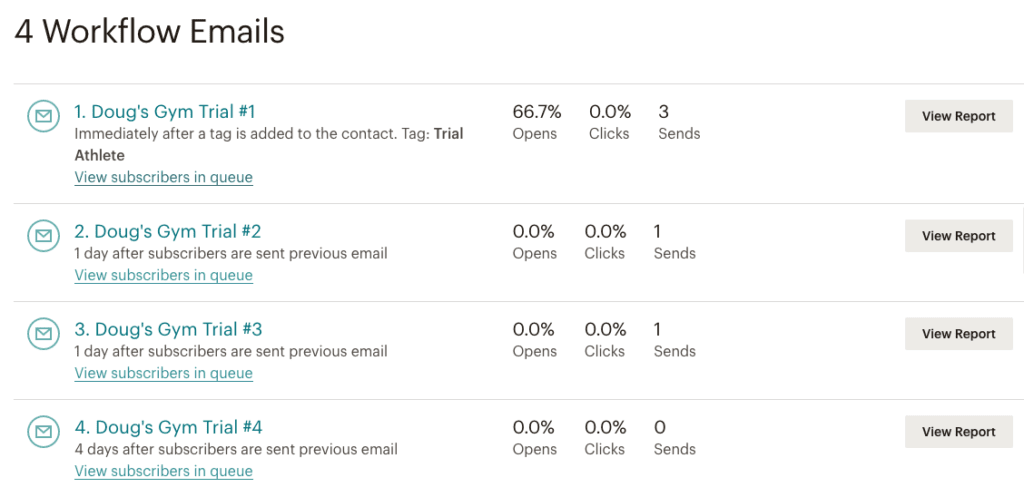
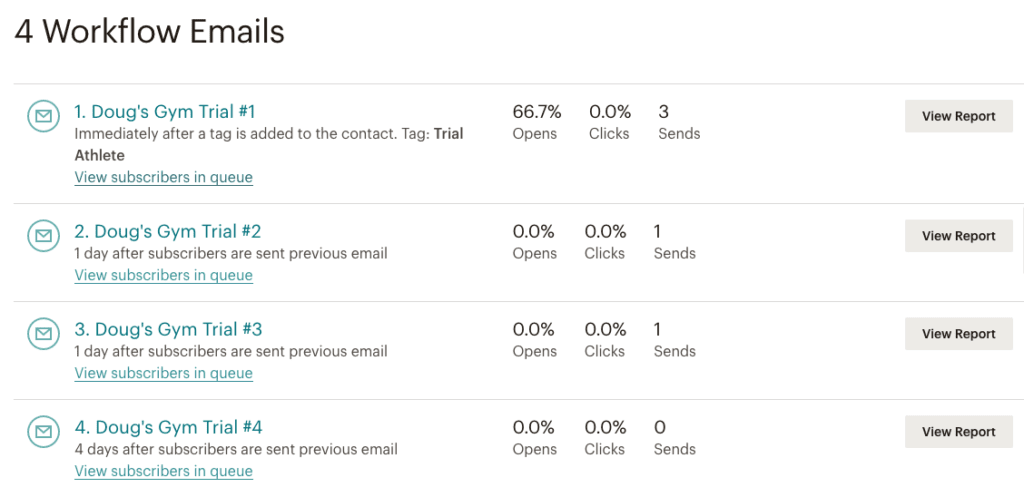
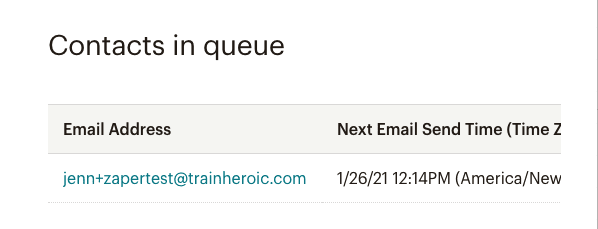
Head to Campaigns in Mailchimp and find your trial campaign. After selecting it, you’ll see a snapshot of all emails in the campaign. Click View subscribers in queue under the first email.
Head back to your Zapier setup and select Turn on Zap.


// check in often, measure, and optimize
Make sure to stay tuned to our blog and Instagram accounts for more tips on measuring and optimizing your automation flows.
For now, check in a few times on both Zapier and Mailchimp within the first few days.
Be sure to note your conversion rate before AND after launching this automation.
READY TO TRY TRAINHEROIC?
Our powerful platform connects coaches and athletes from across the world. Whether you are a coach or trainer looking to provide a better experience for your clients, or you’re an athlete looking for expert programming, click below to get started.
Want more training content?
More coaches and athletes than ever are reading the TrainHeroic blog, and it’s our mission to support them with the best training & coaching content. If you found this article useful, please take a moment to share it on social media, engage with the author, and link to this article on your own blog or any forums you post on.
Be Your Best,
TrainHeroic Content Team
HEROIC SOCIAL
HEROIC SOCIAL
TRAINING LAB
Access the latest articles, reviews, and case studies from the top strength and conditioning minds in the TH Training Lab
